Sketch 01
Sketch 02
Sketch 03
Sketch 04
Sketch 01
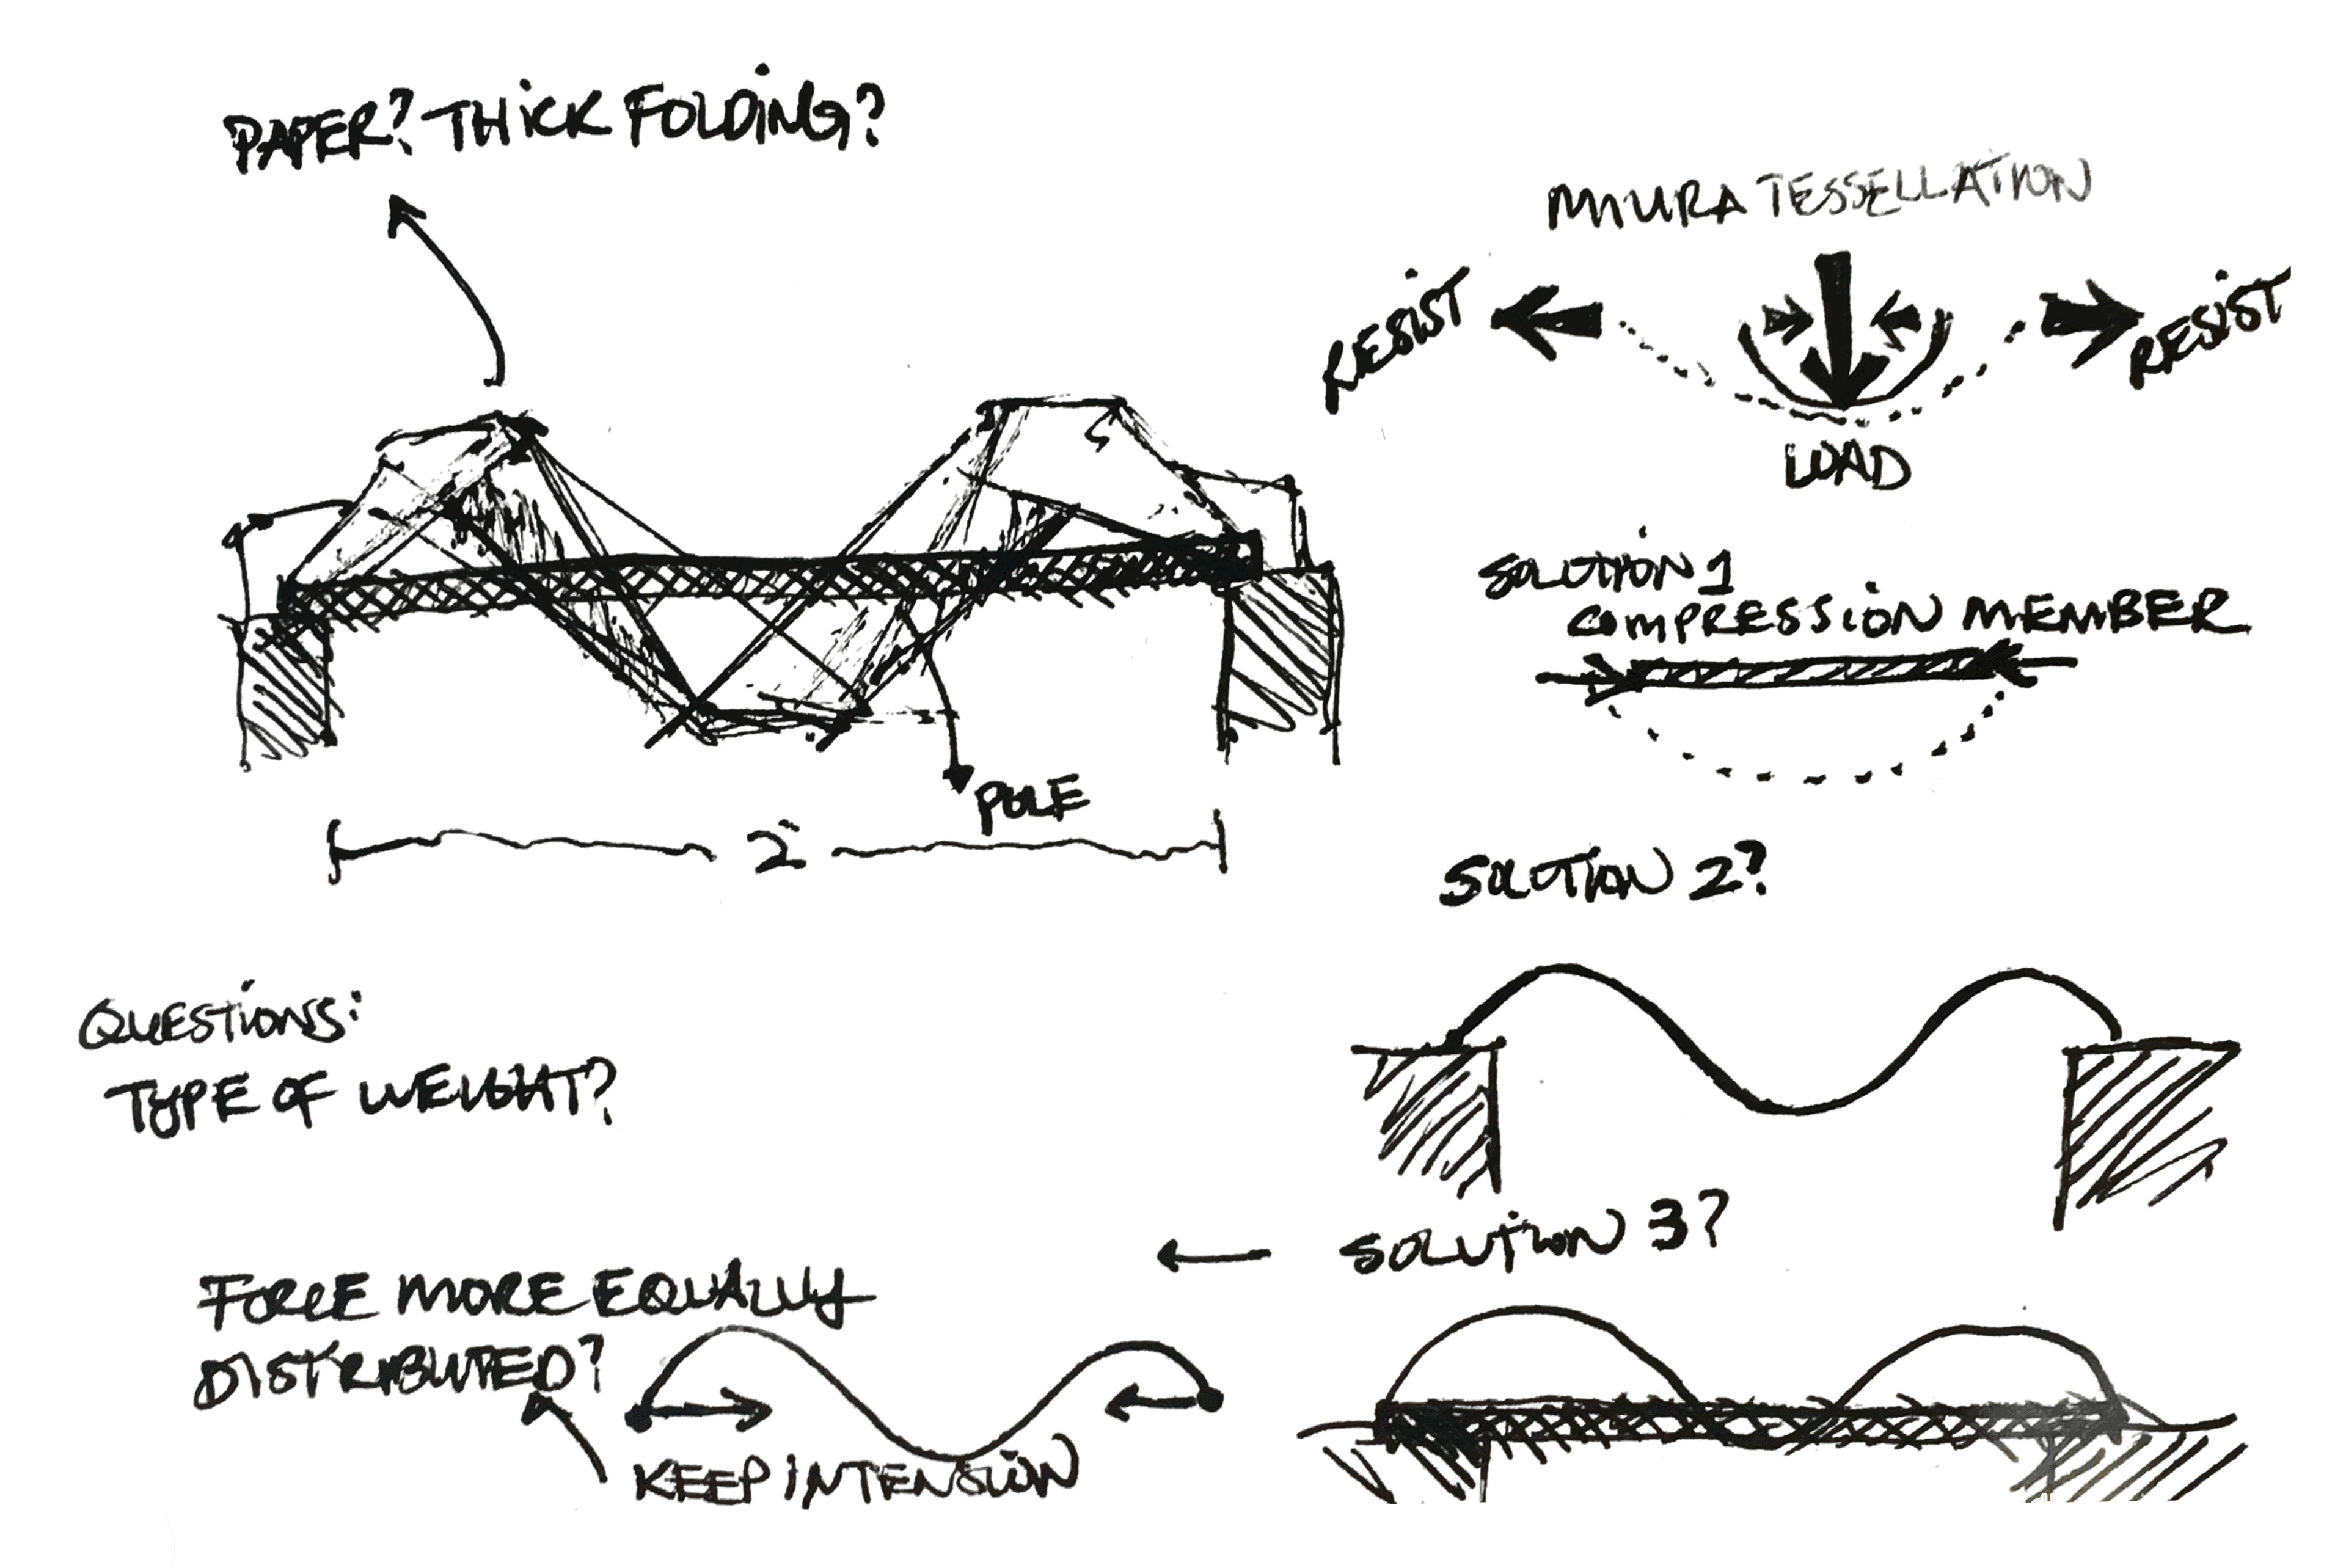
Initially, I wanted to expand my understanding of the Miura tessellation as a structural element. I began by trying out different profiles for tessellations to mimic shear and moment diagrams to implement some structural ideas into the design.
Sketch 02
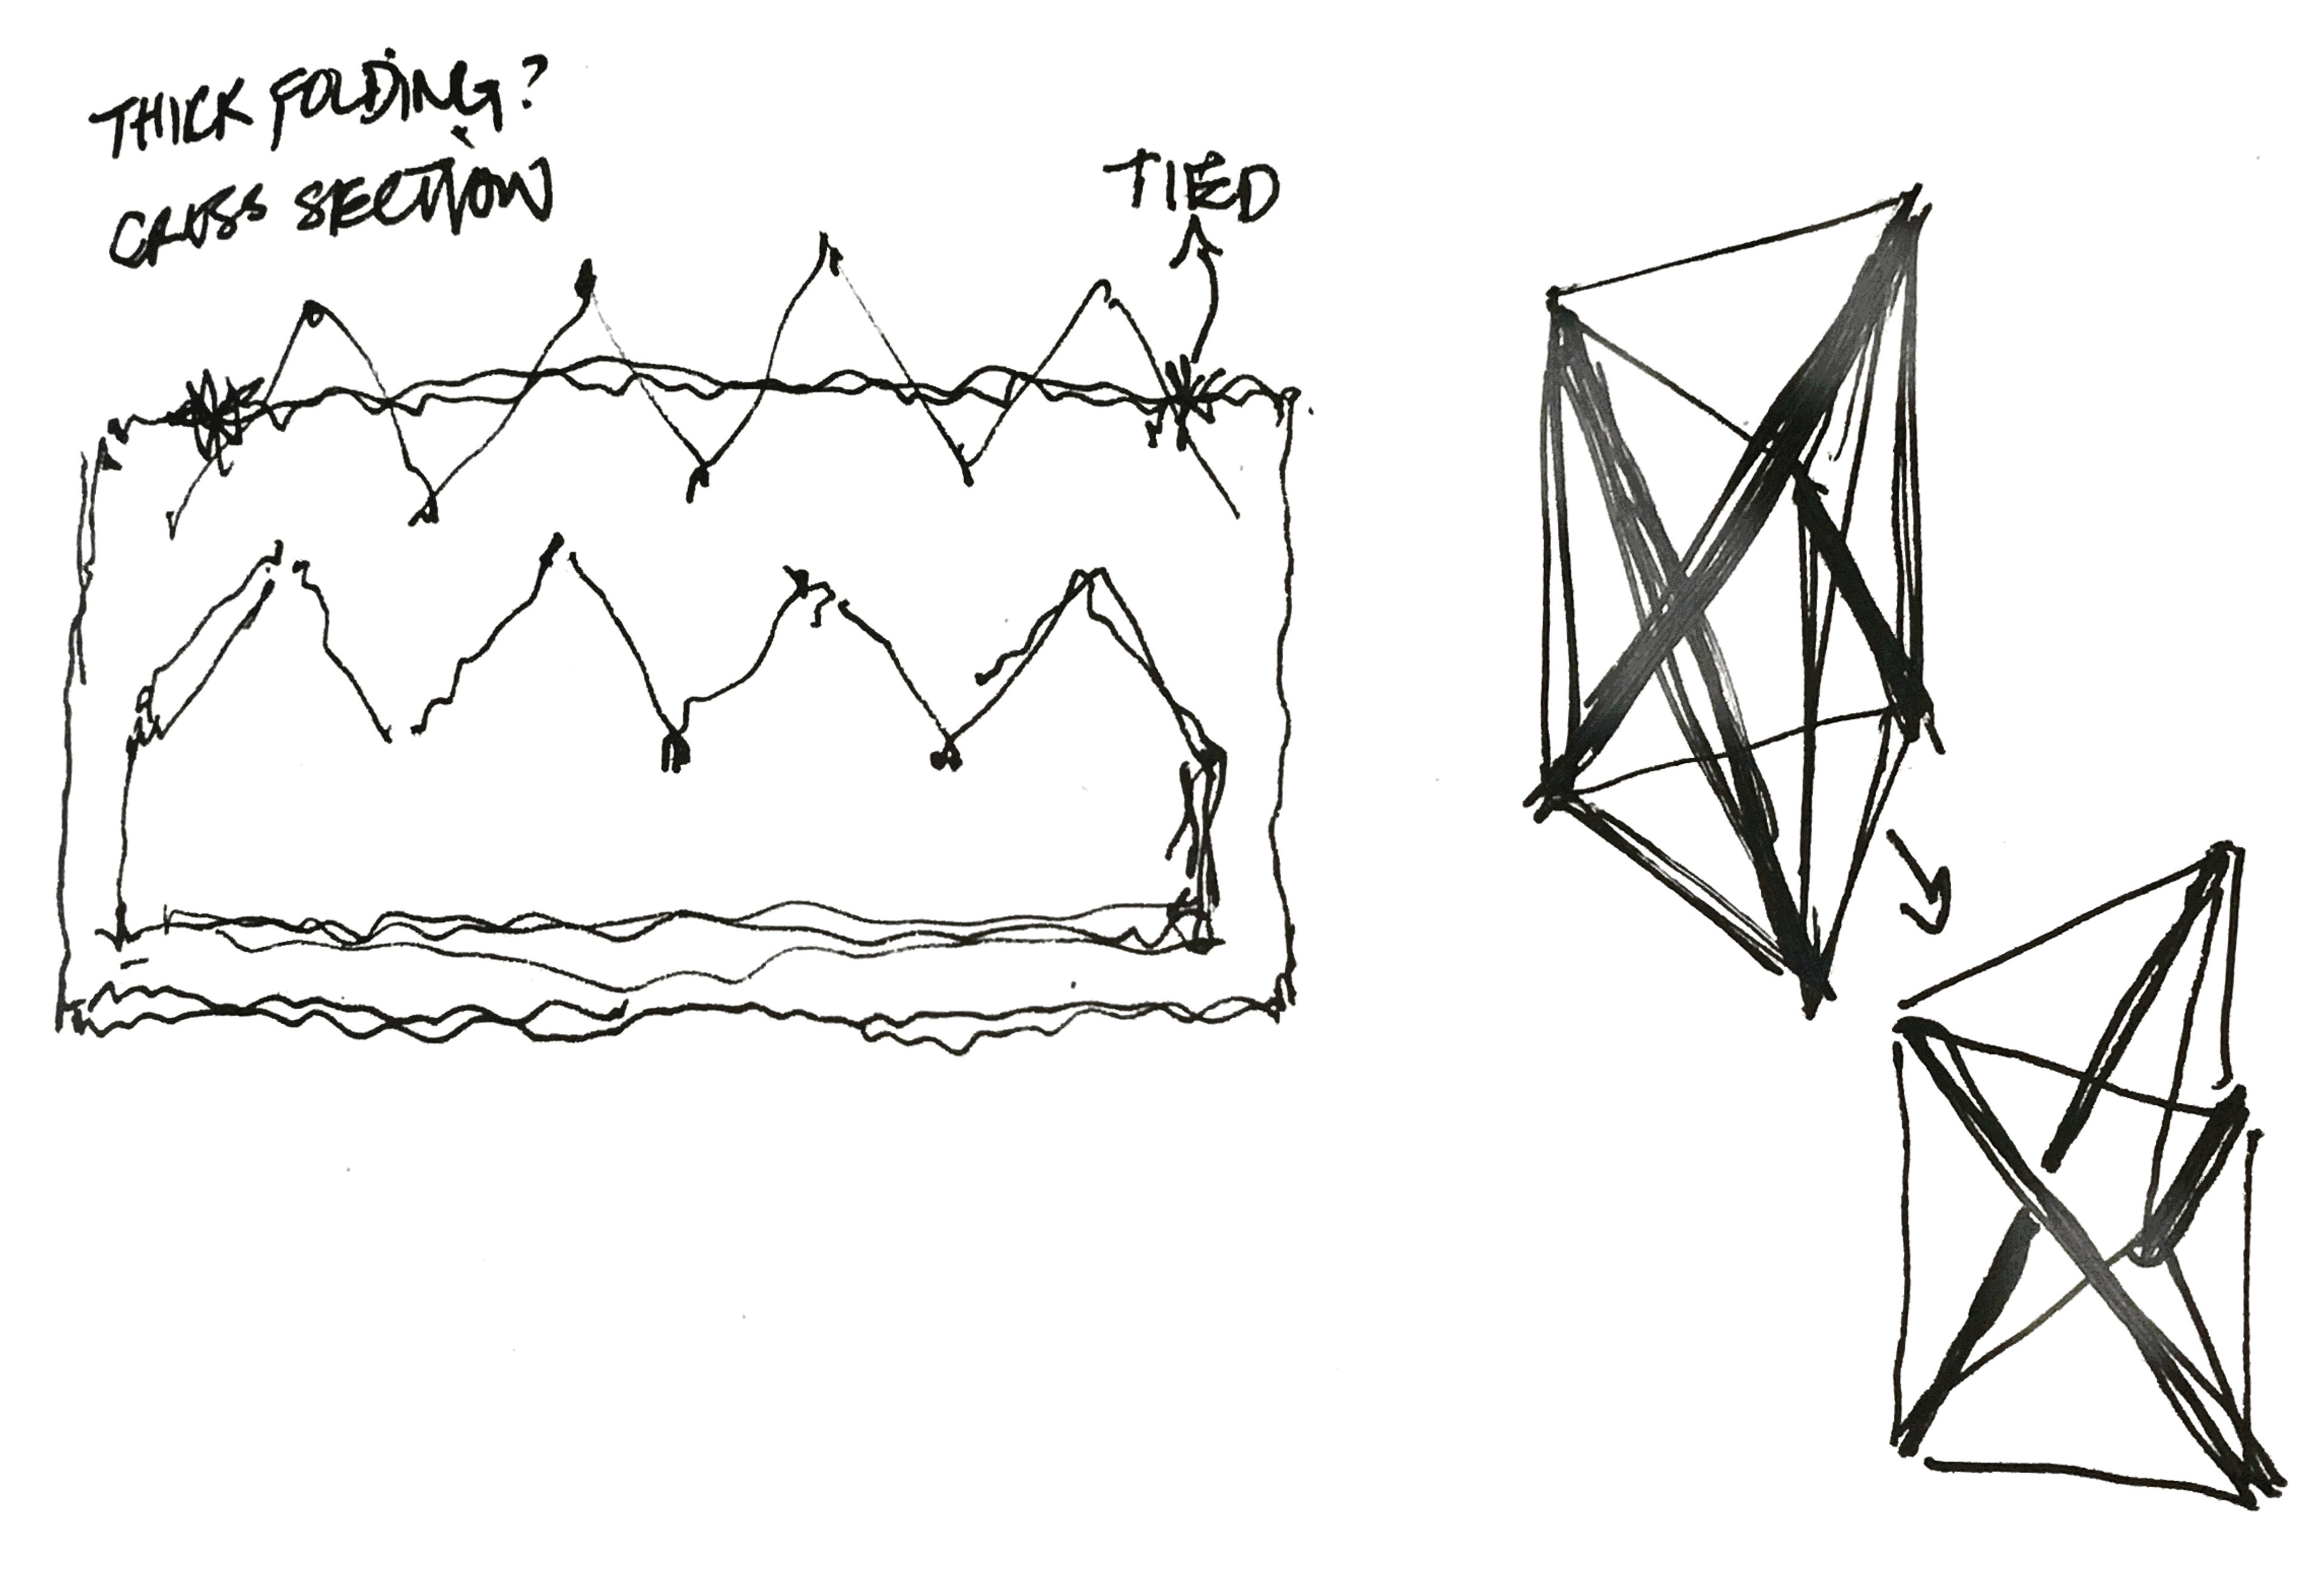
I then, after making a series of prototype models, moved on to considering thick folding to increase the structural capacity of the design. To further support the structure, I also considered fabricating cross sectional pieces to support the tessellation from below as well as locking the fold into one position.
Sketch 03 & 04
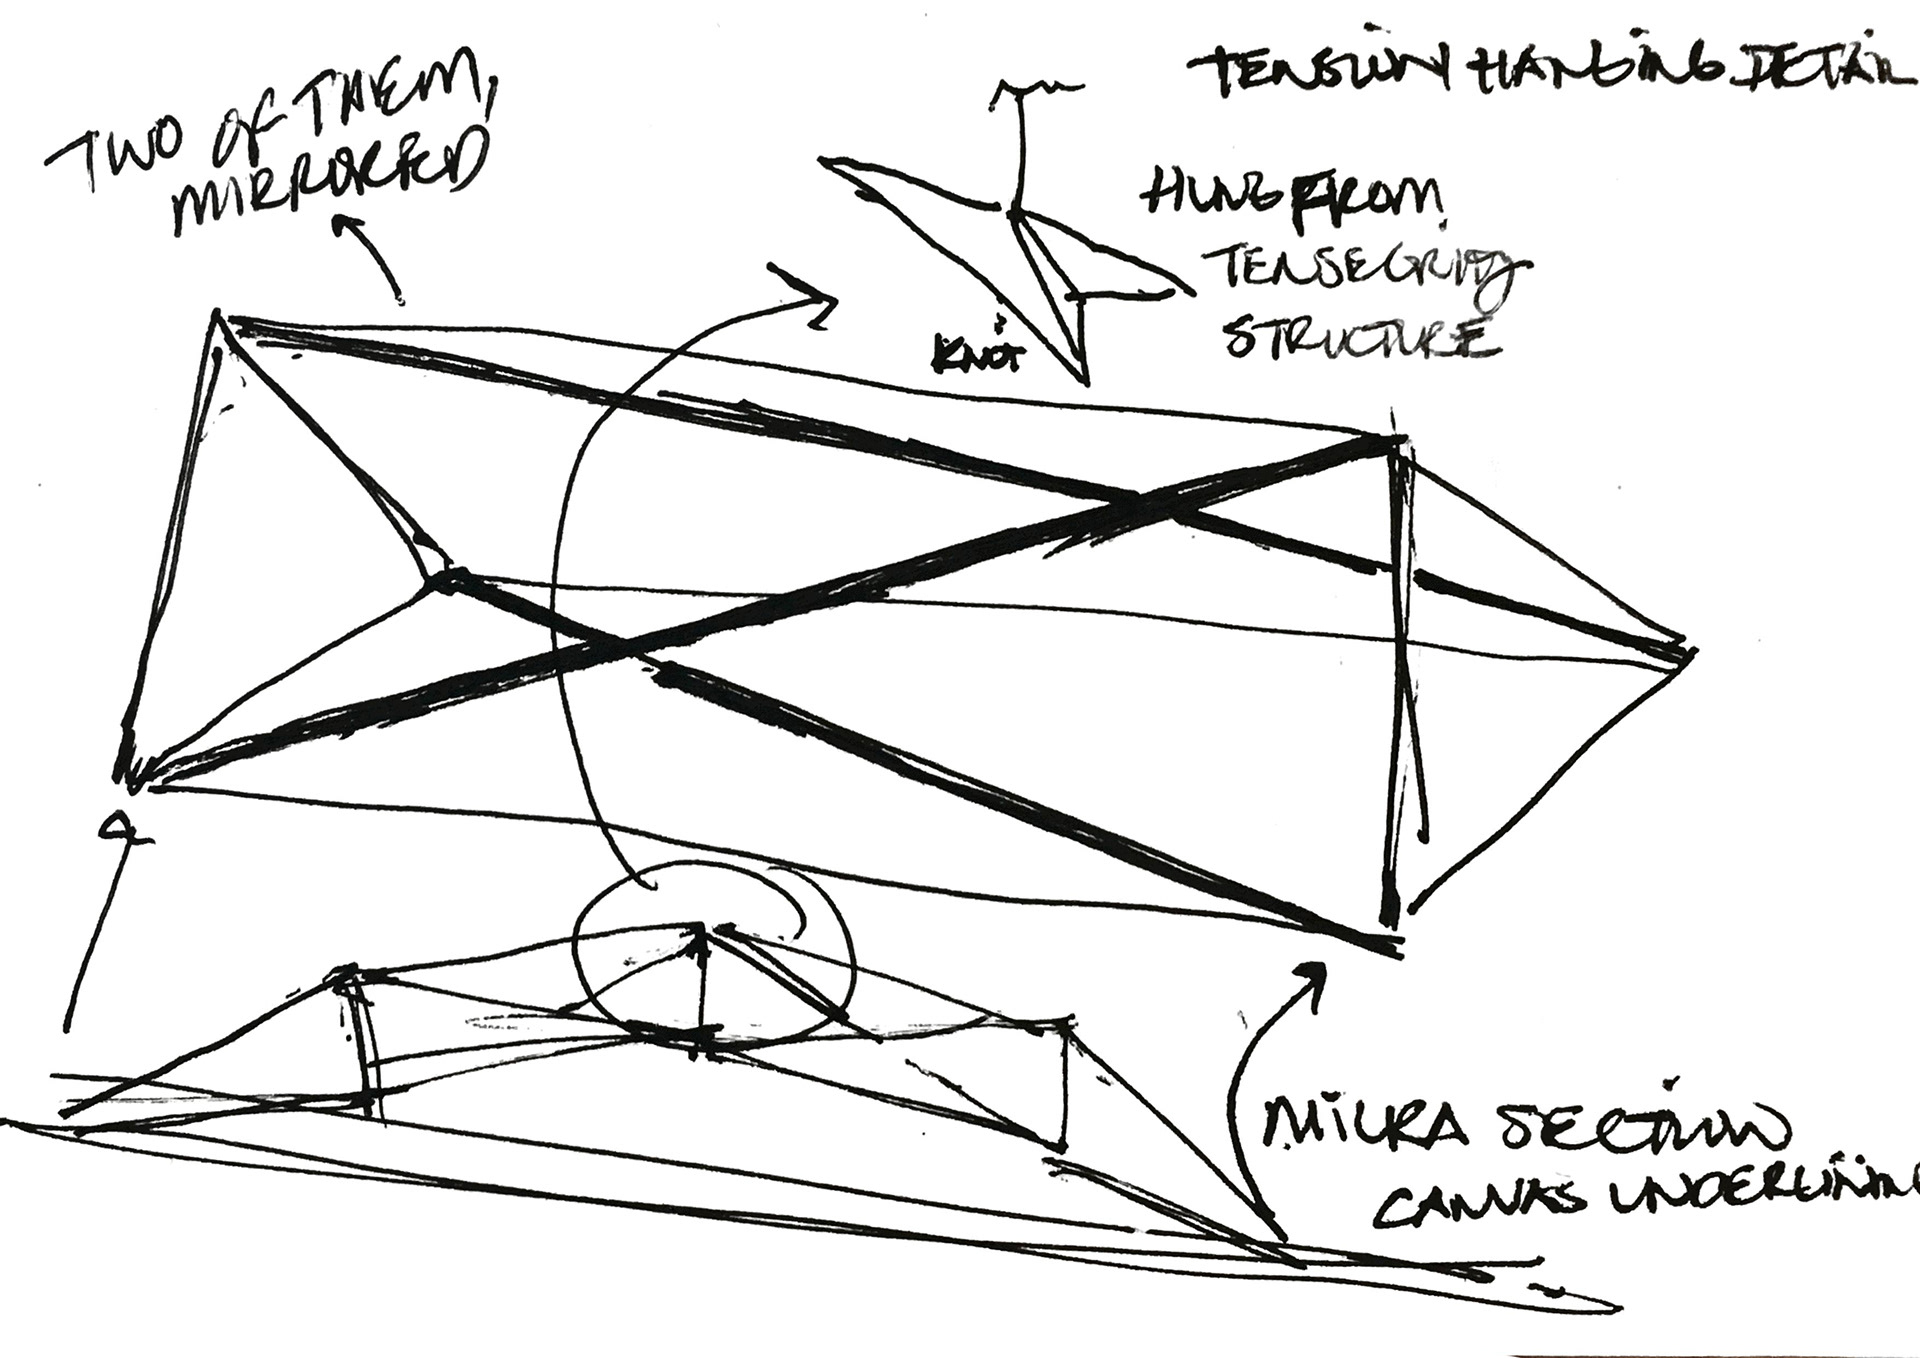
I think the idea of tensegrity is really interesting/cool, so I tried to implement a tensegrity structure into the design. What I found out after prototyping a simple tensegrity structure was that it wouldn’t be able to provide support in the way that I had originally imagined so it wouldn’t contribute much to the project. As such, I abandoned it and conceptualized other ways of reinforcing the structure.
Explanation of Joints
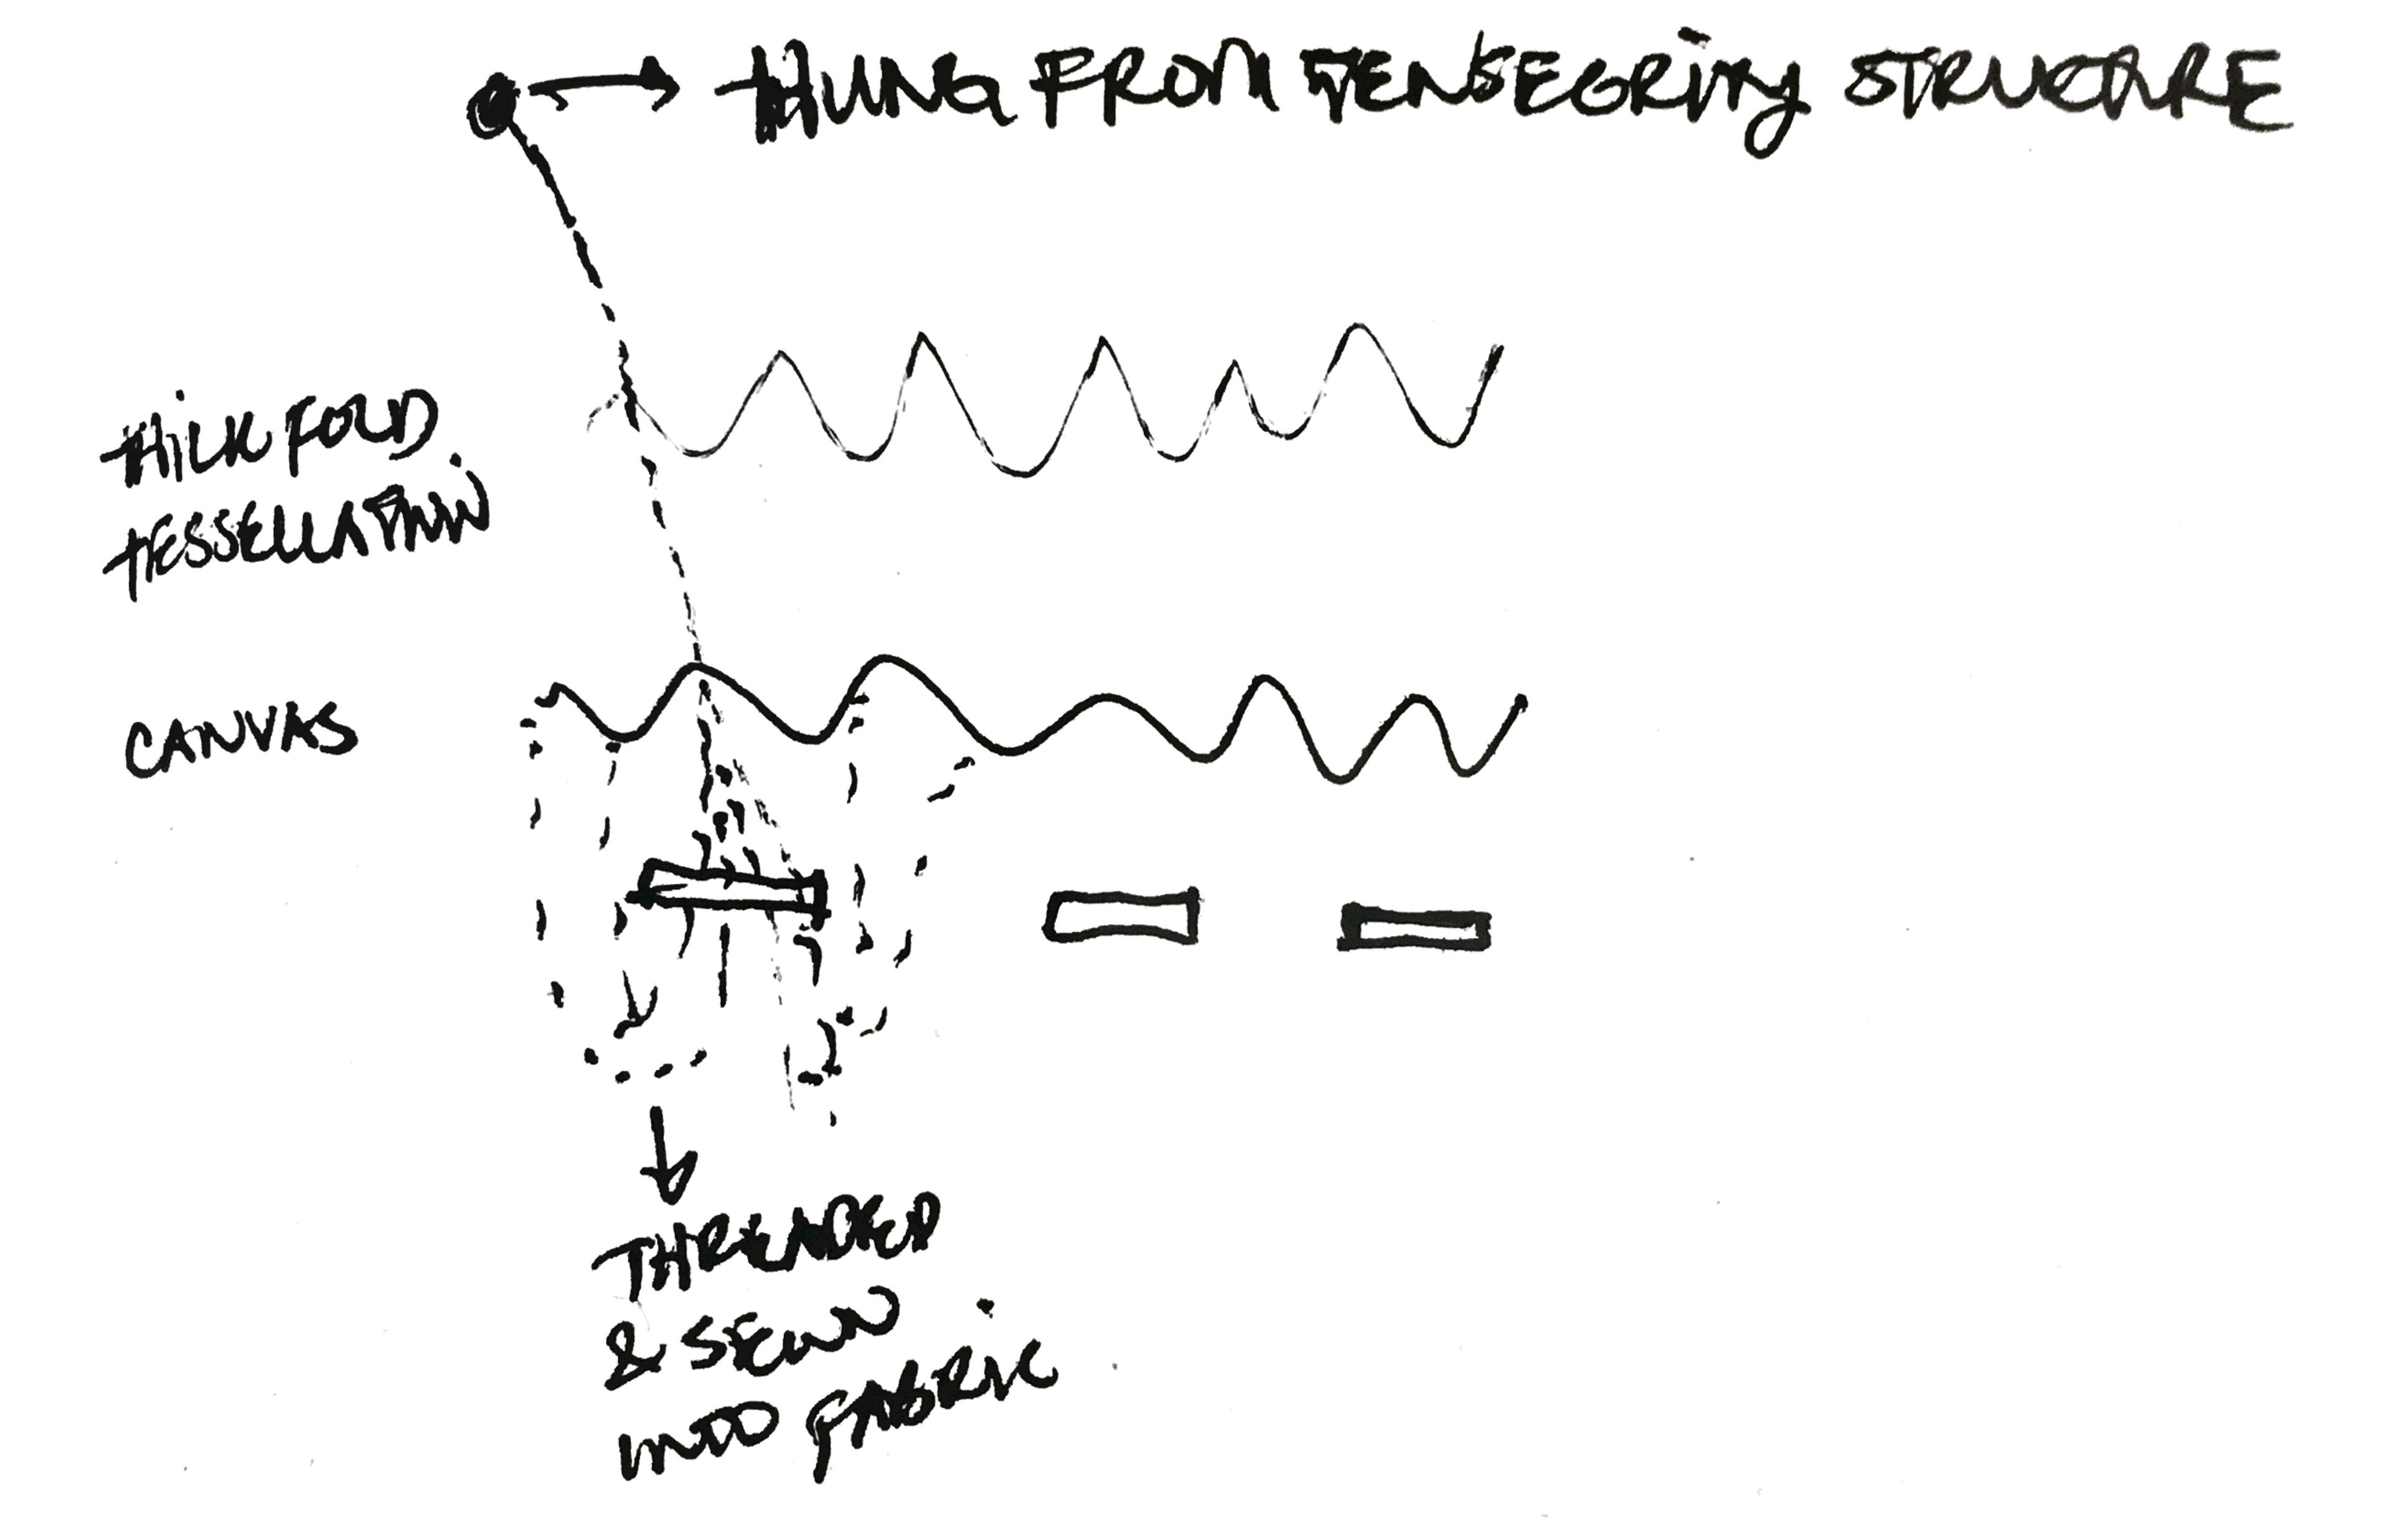
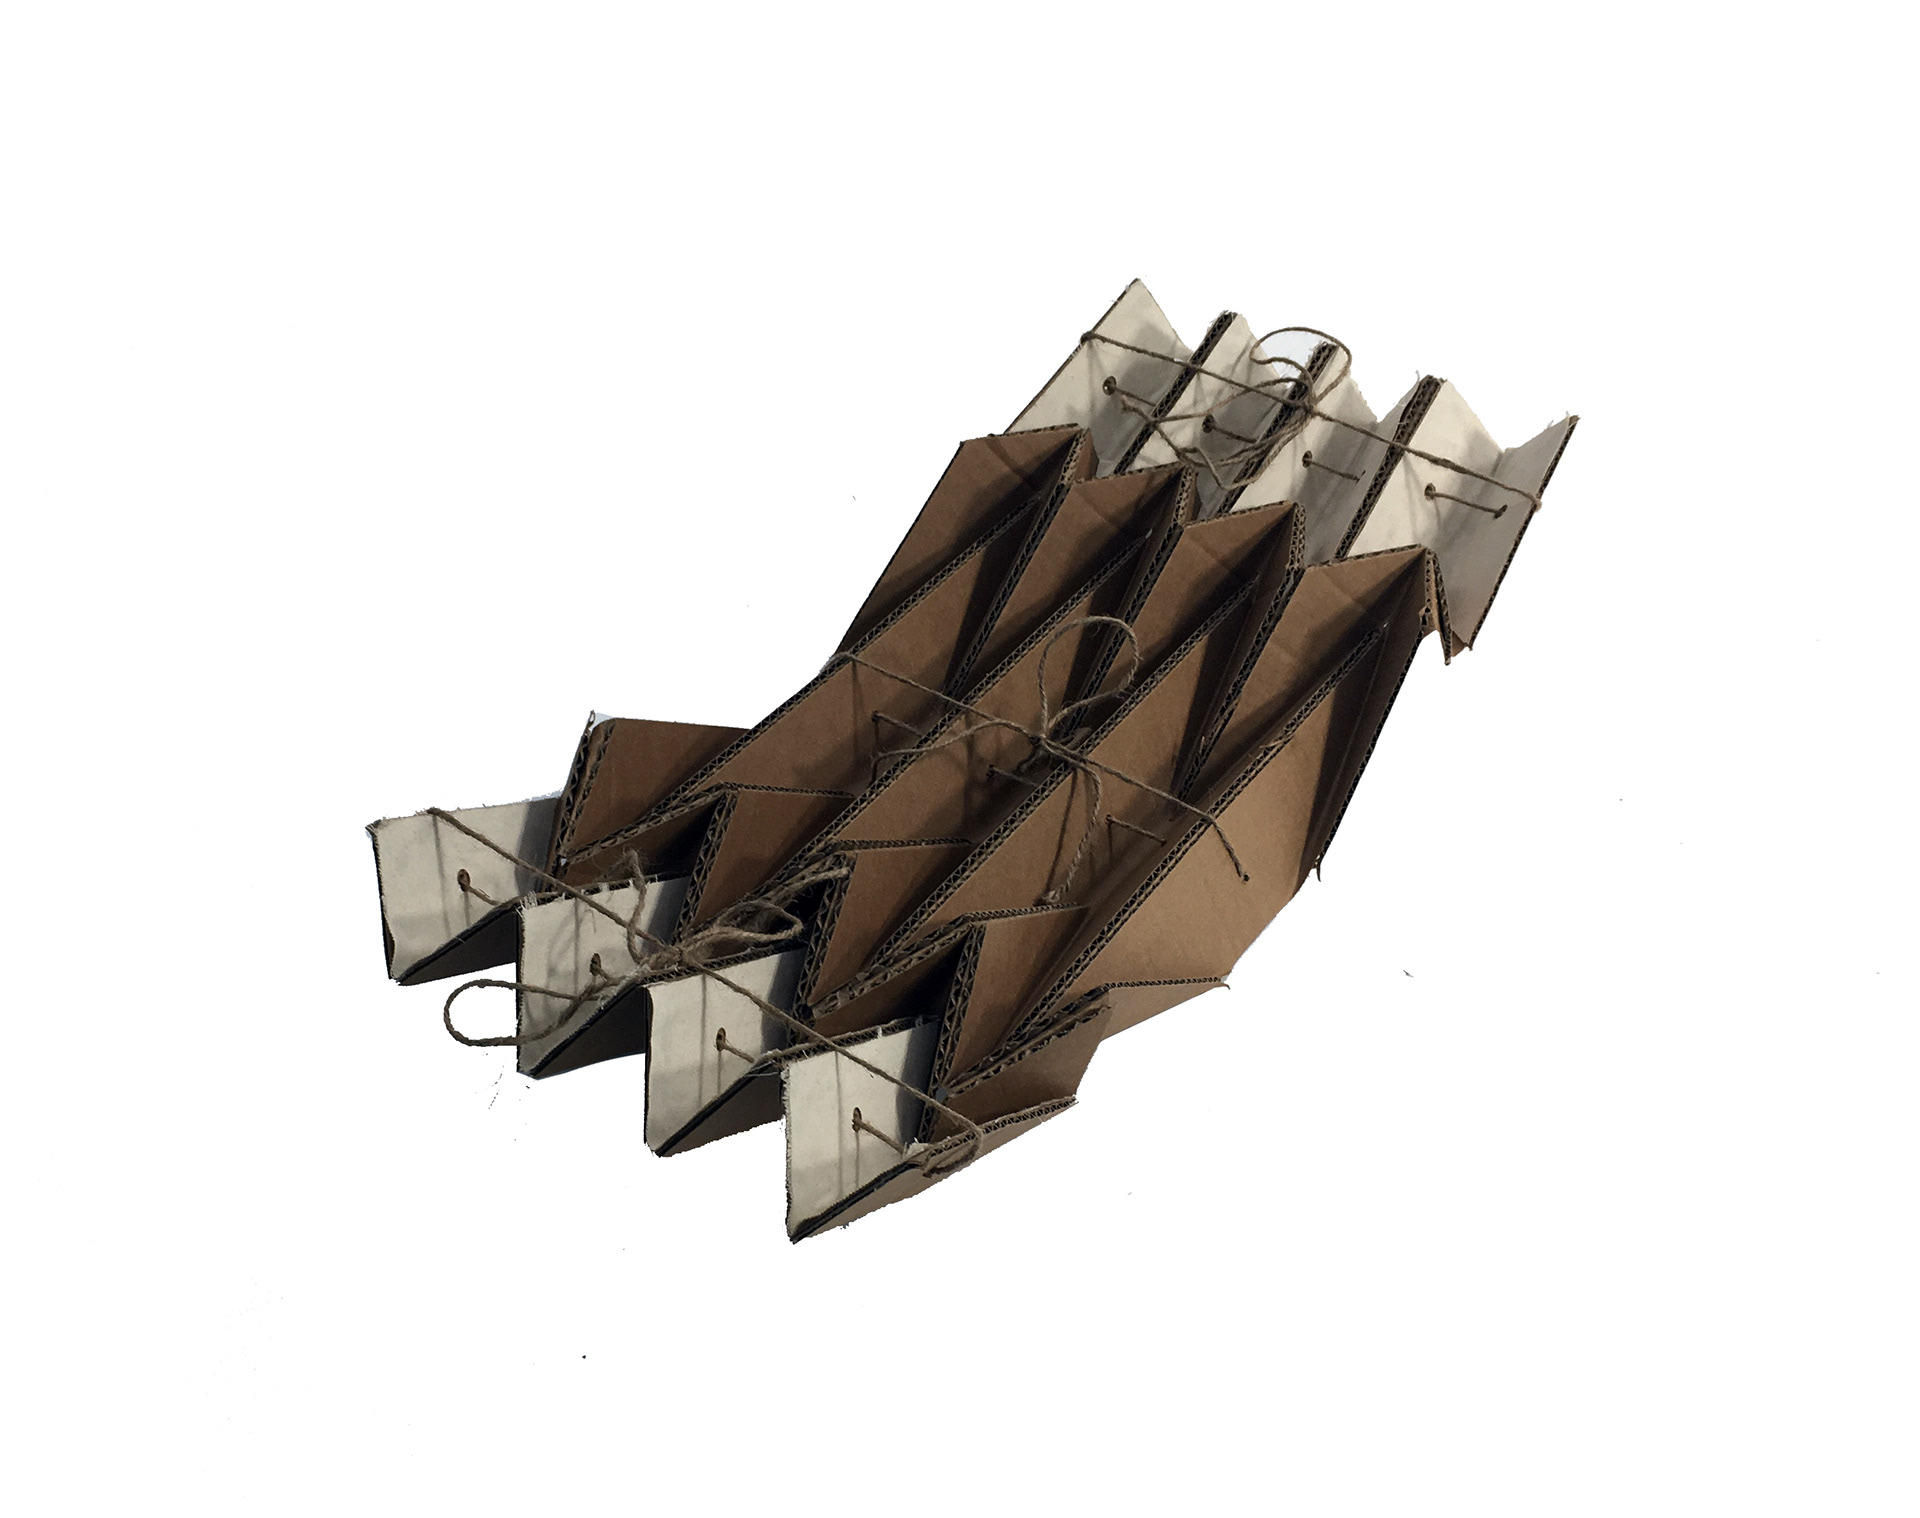
The origami folds/joints will be reinforced using canvas which will be attached to the cardboard with adhesive. The secondary joint will be the string which is threaded through the folds and tied in knots at both ends to set a maximum extent of expansion for the tessellation. This ultimately evolved into tying the string to itself around the structure to put less strain on the end holes.
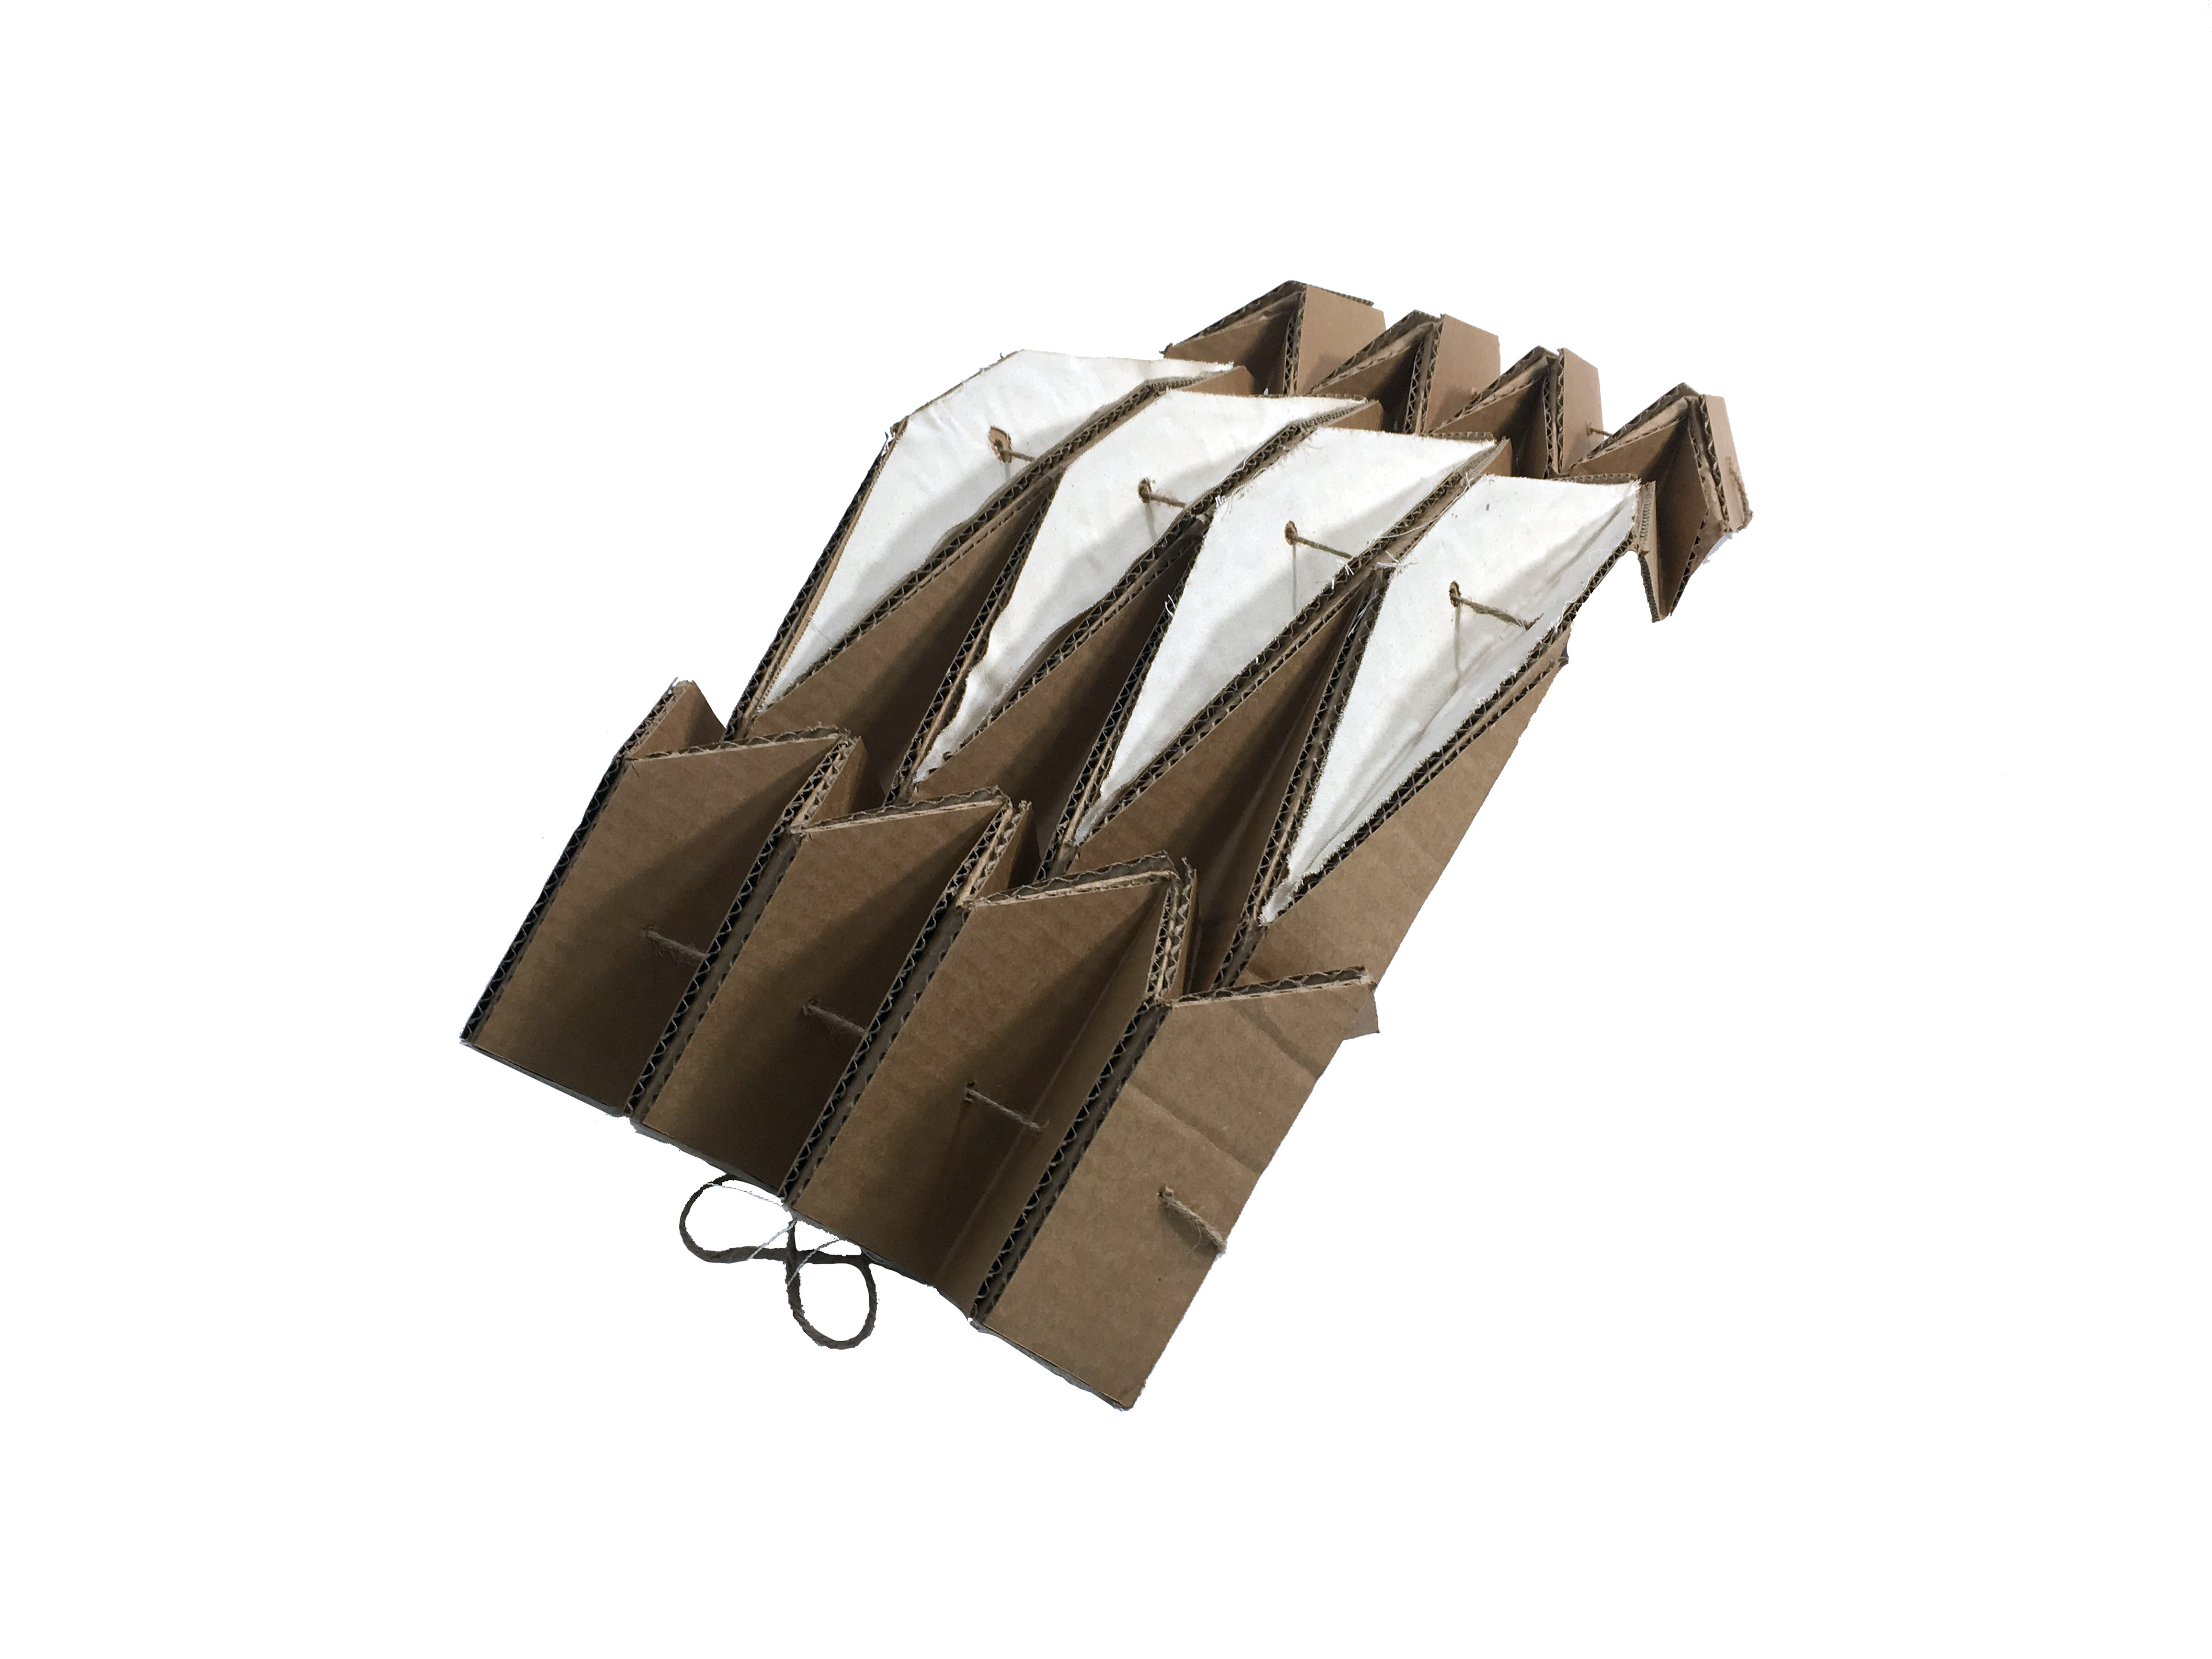

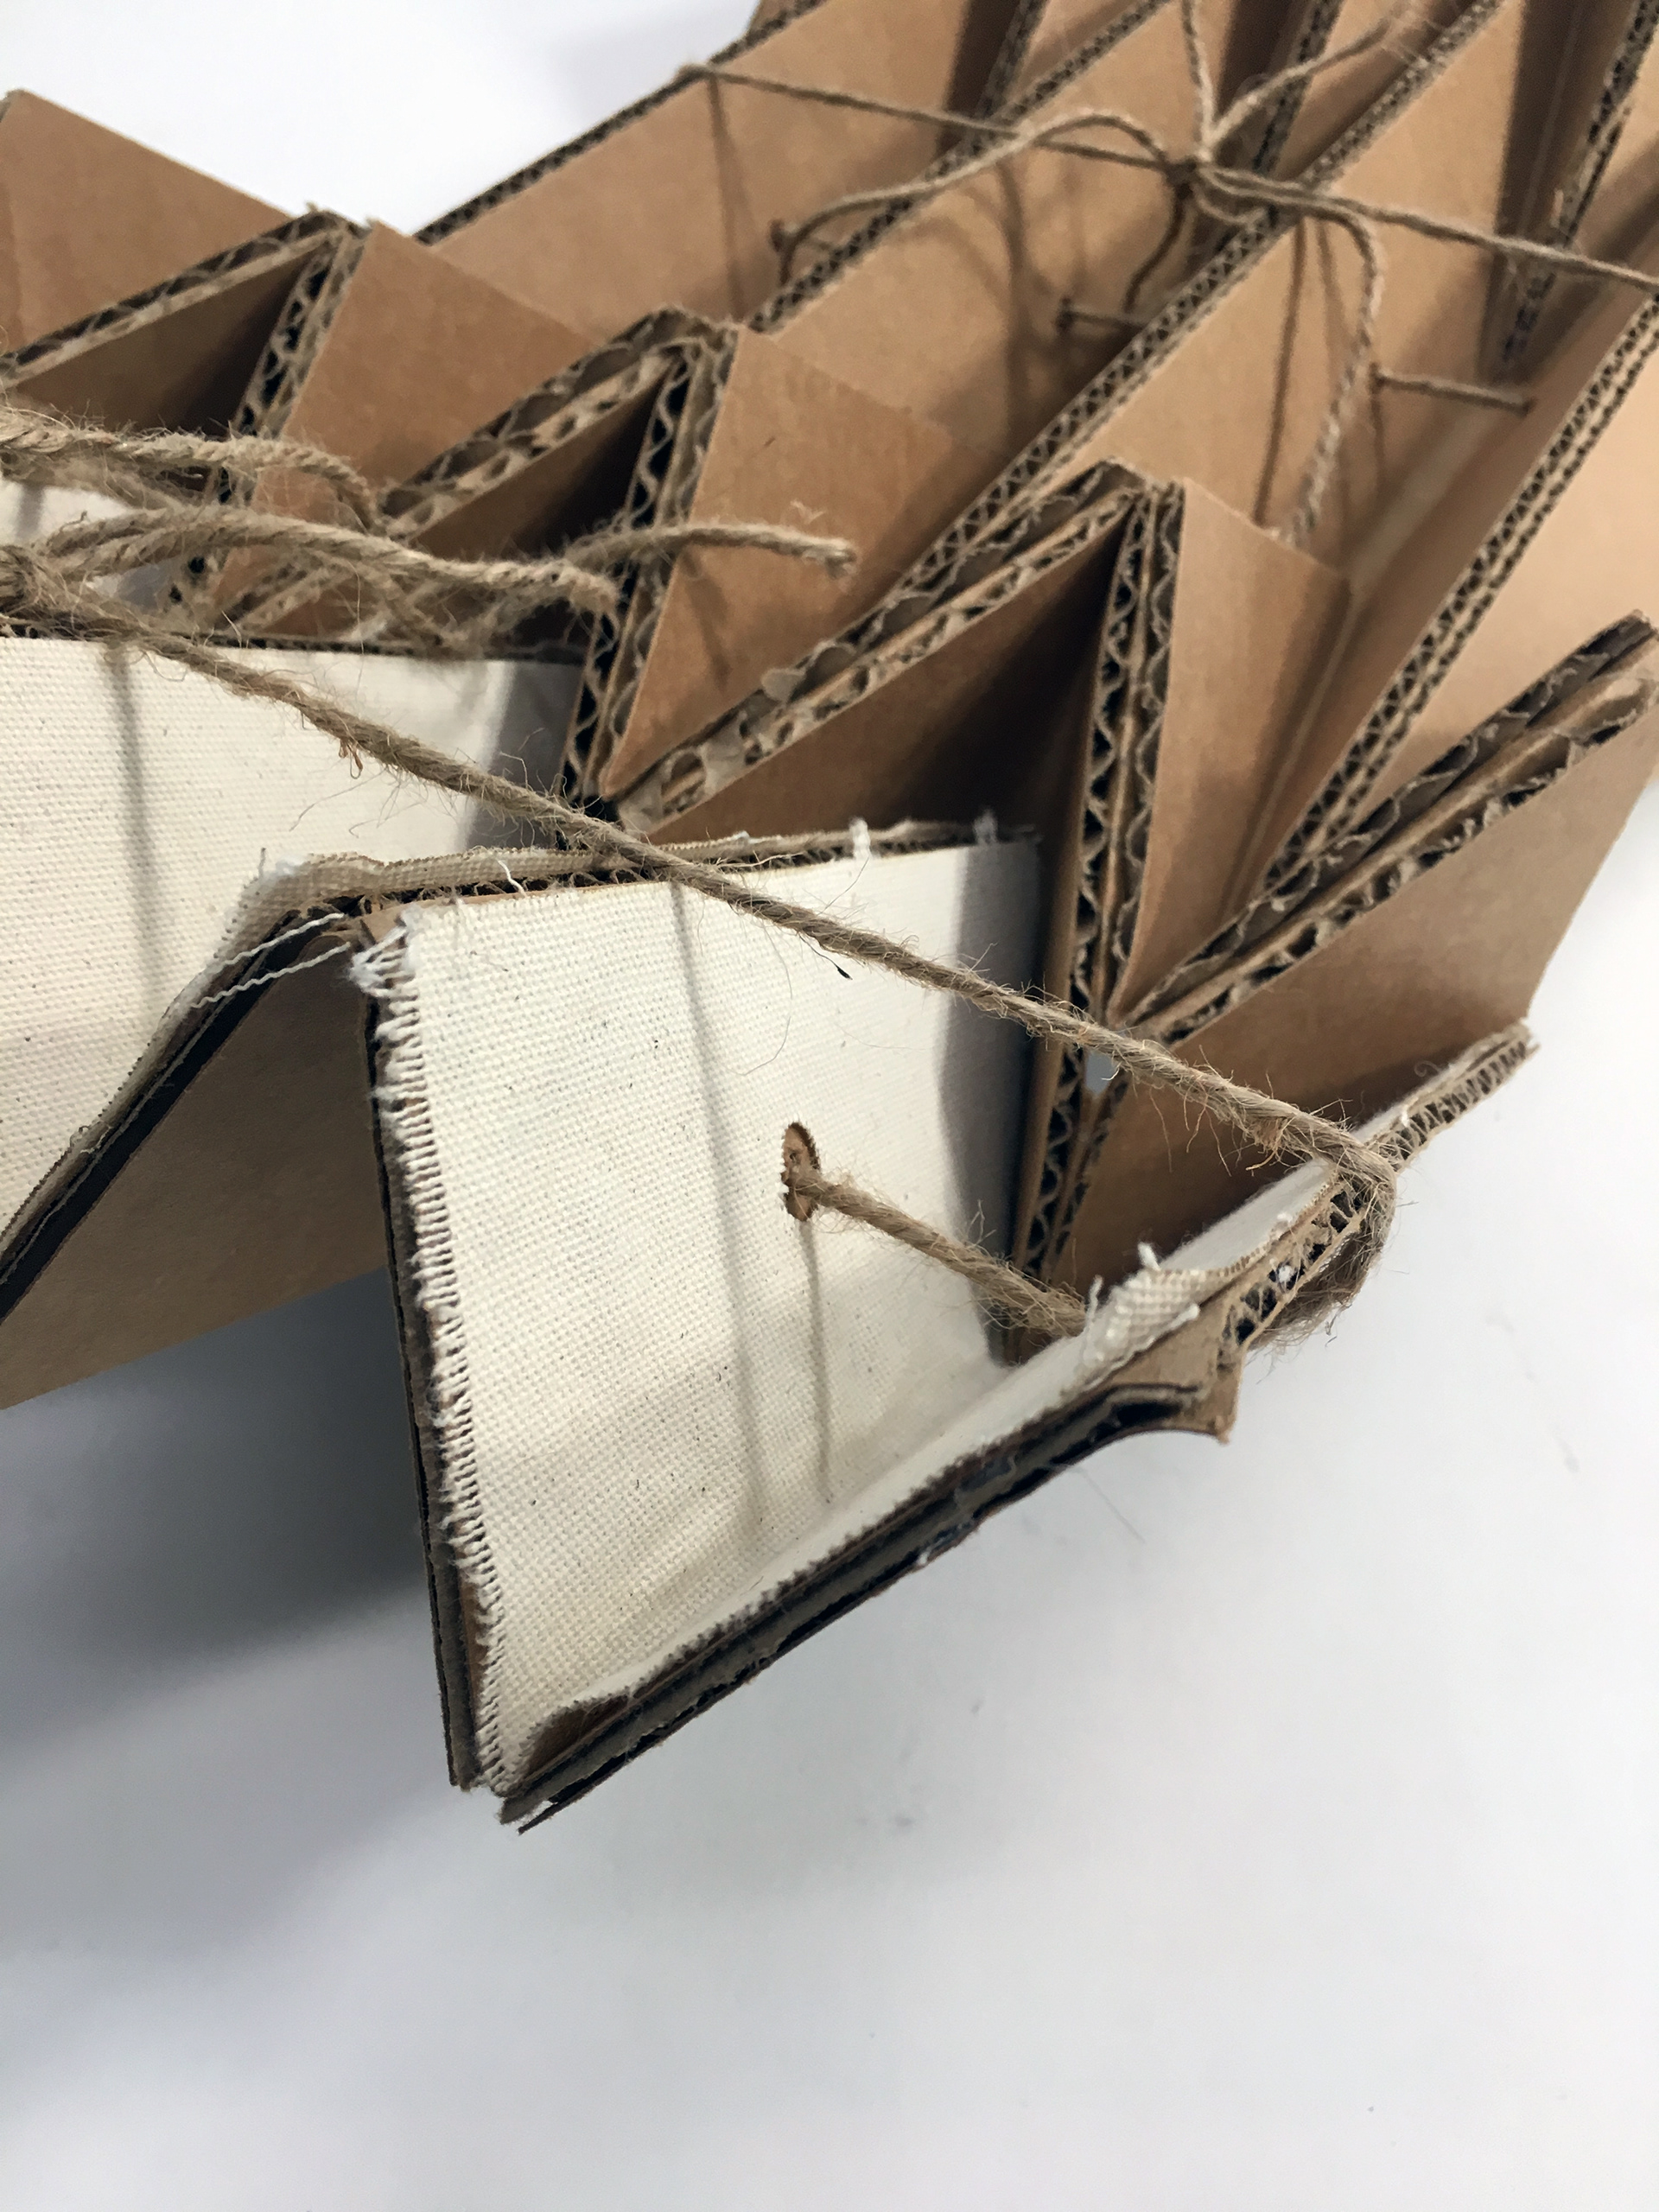
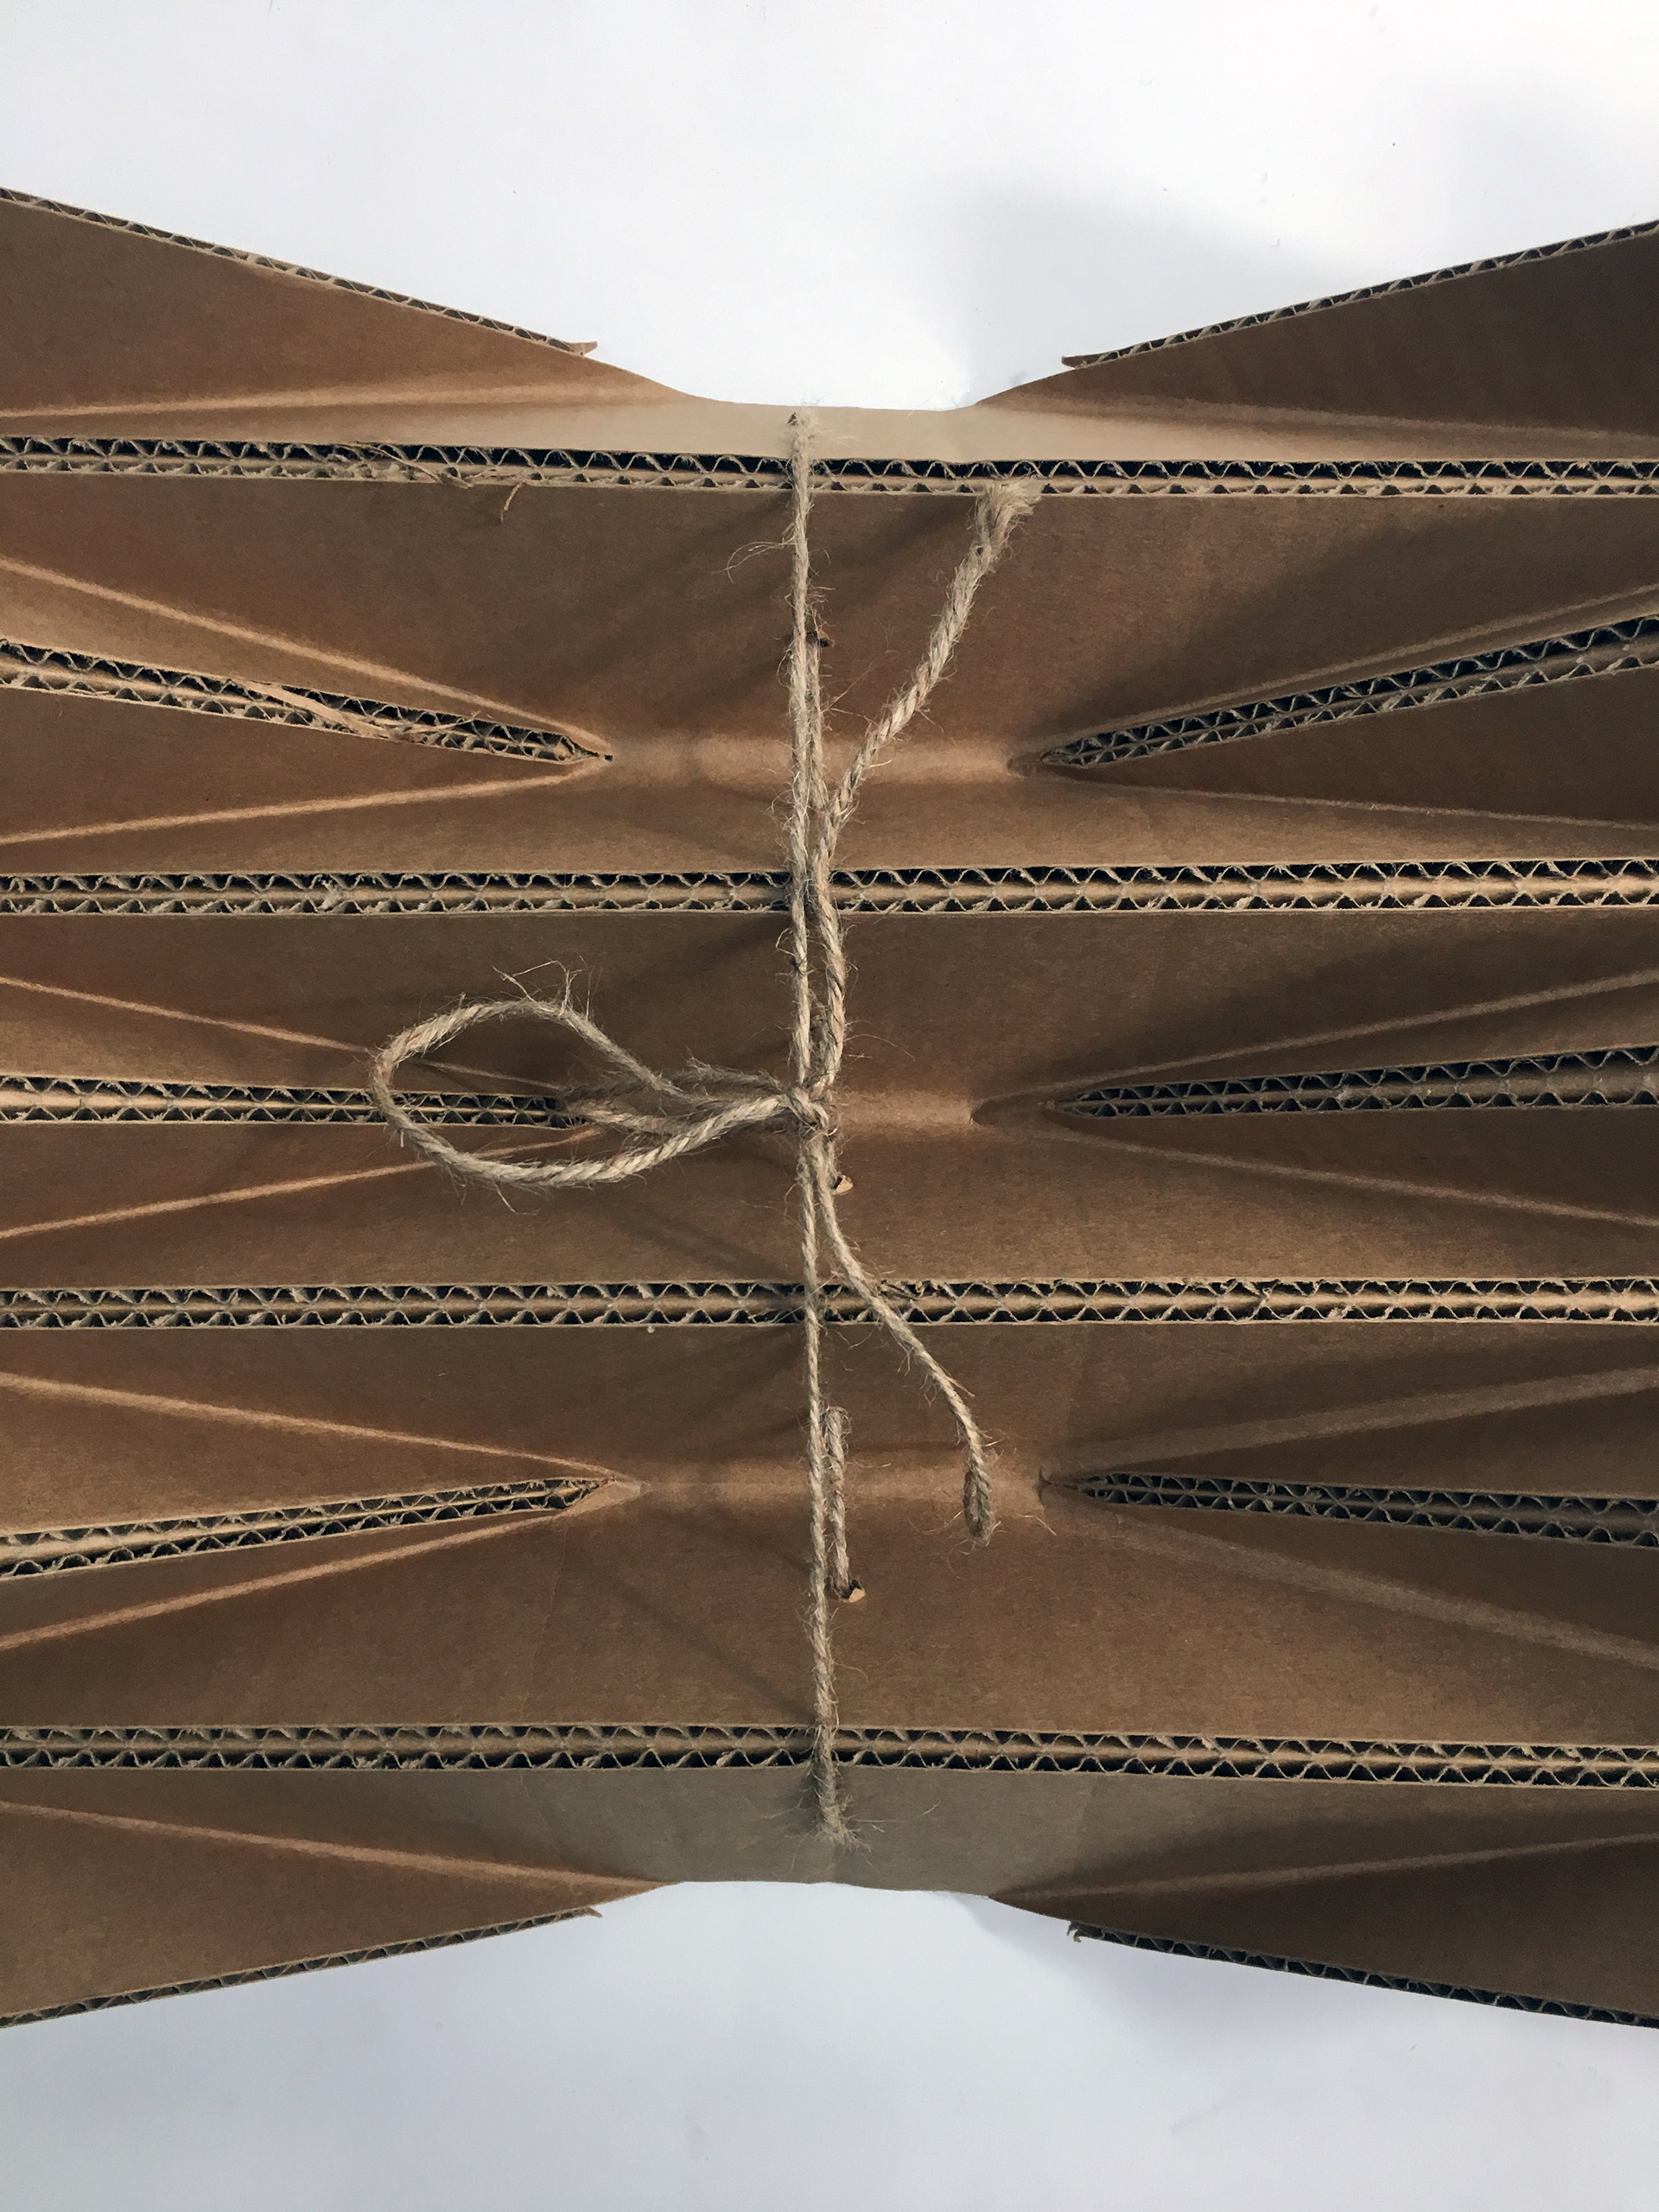
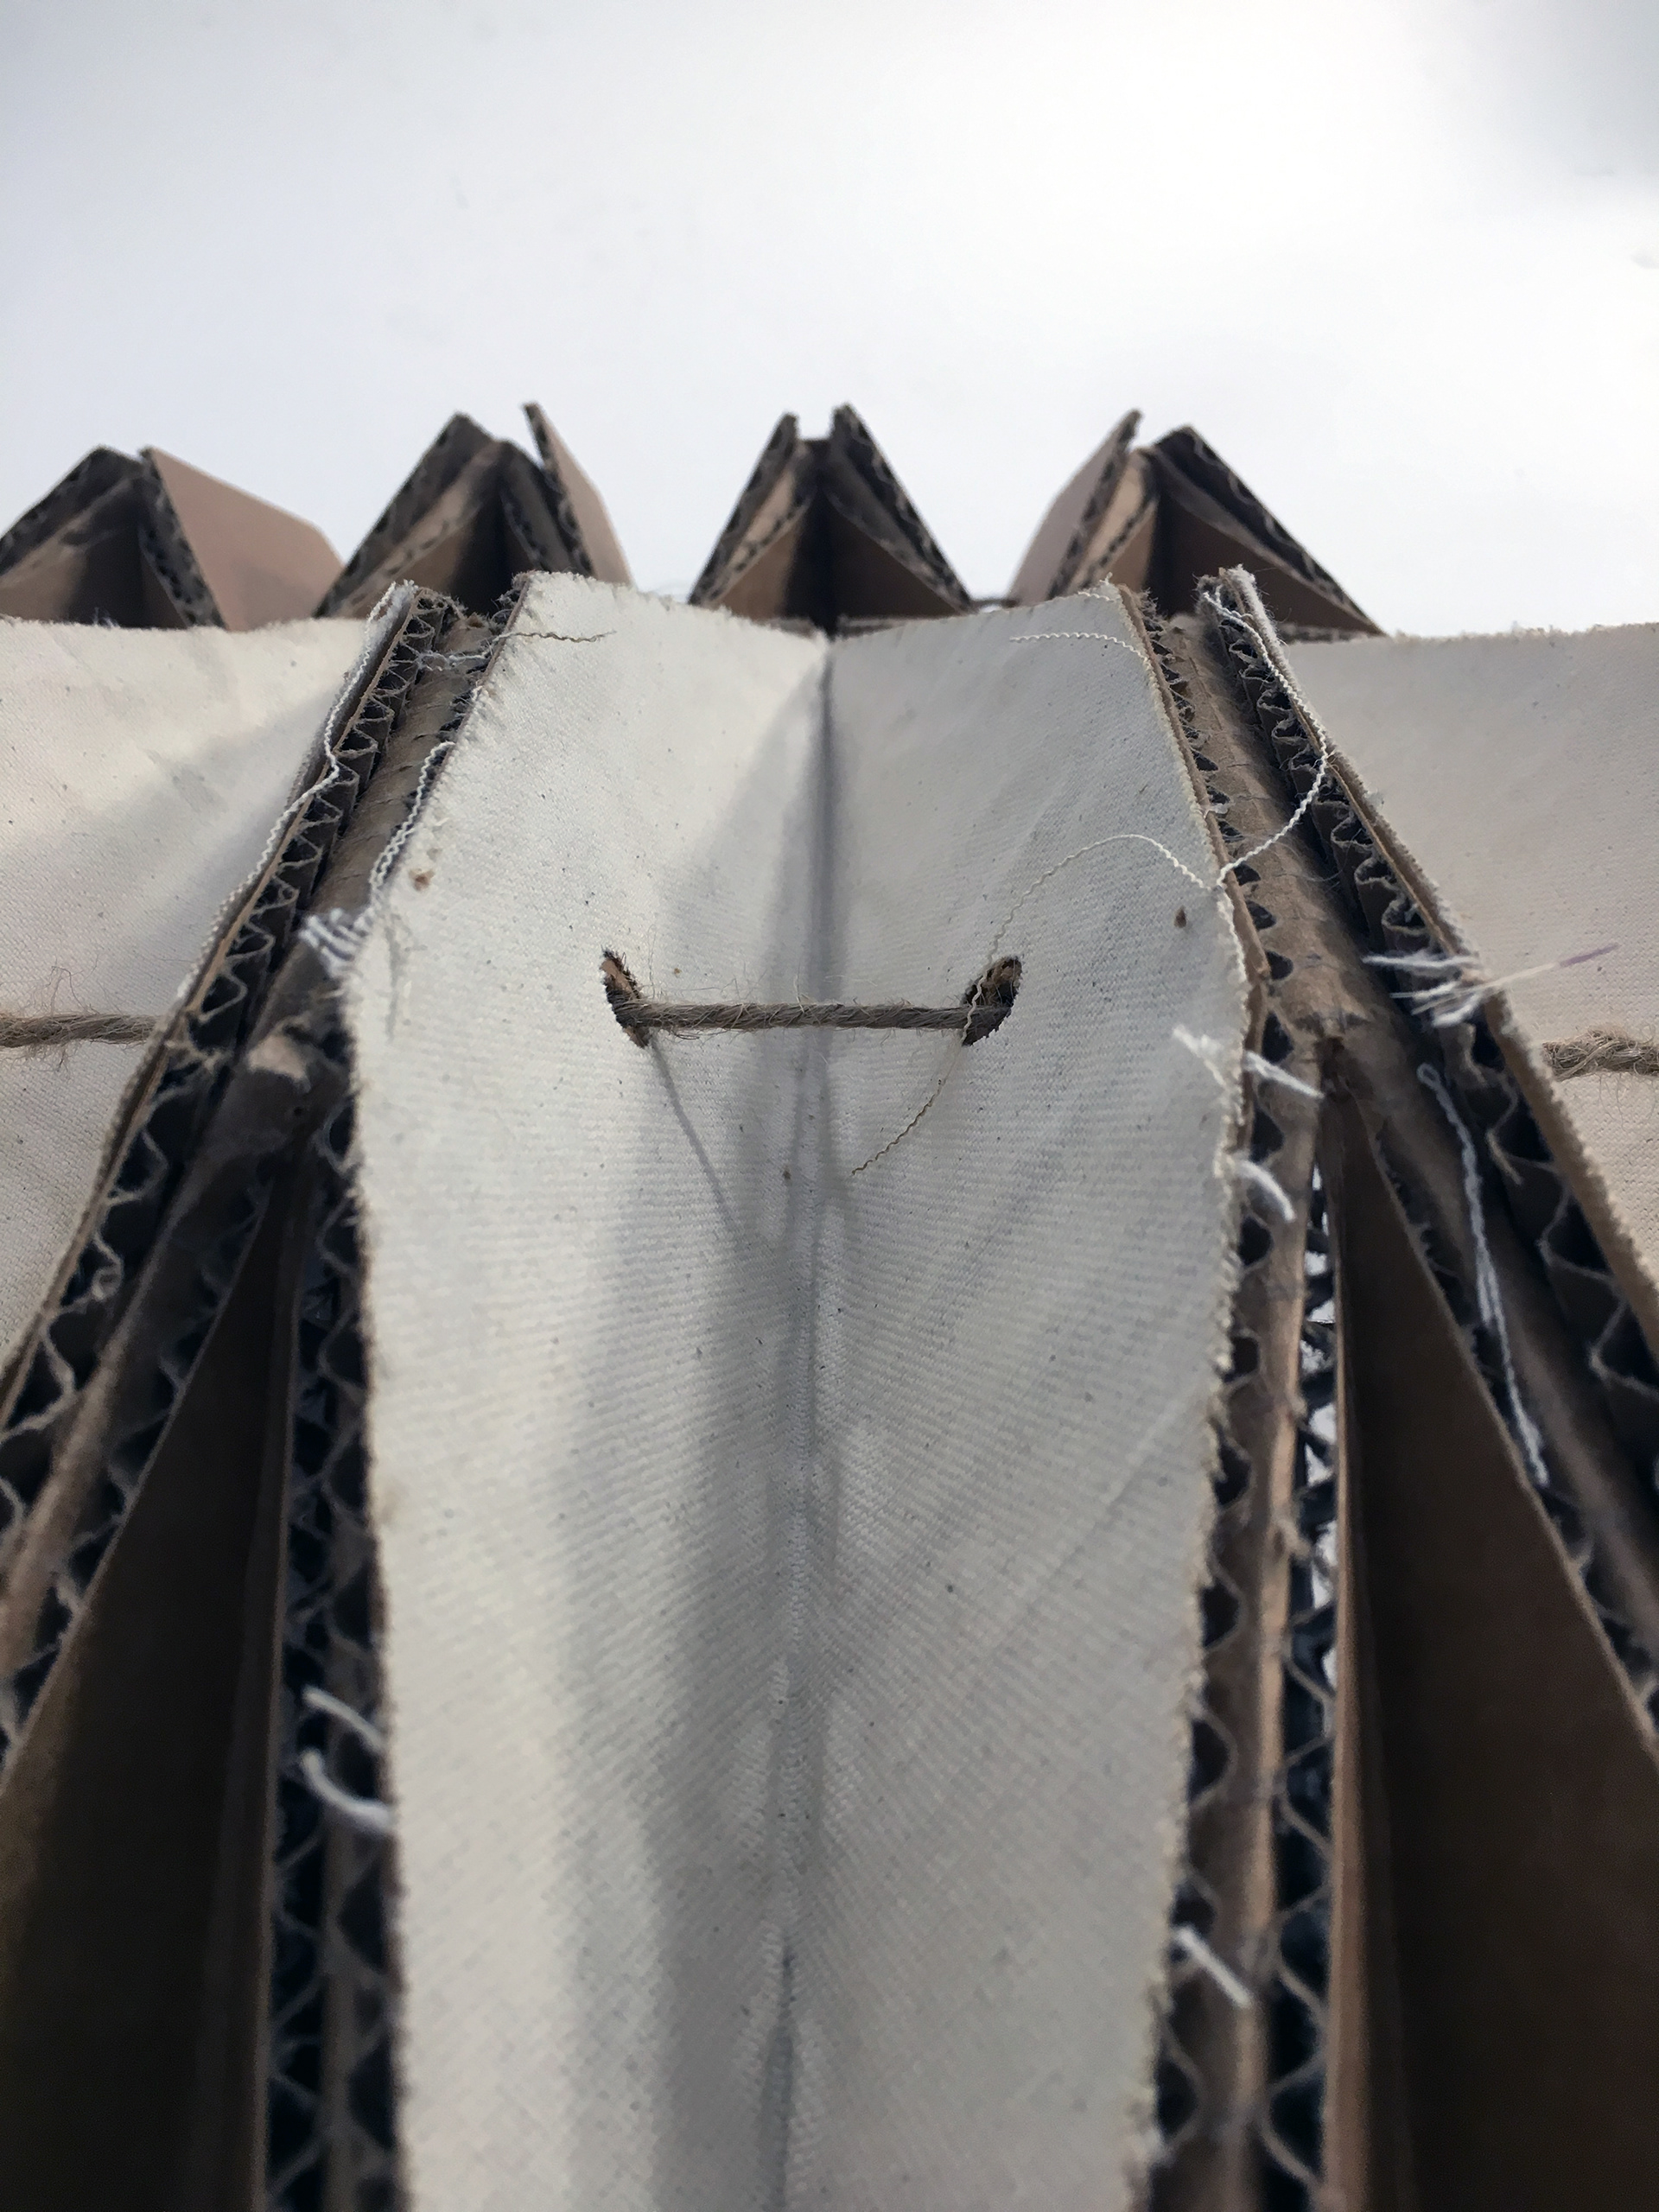
Final Structure
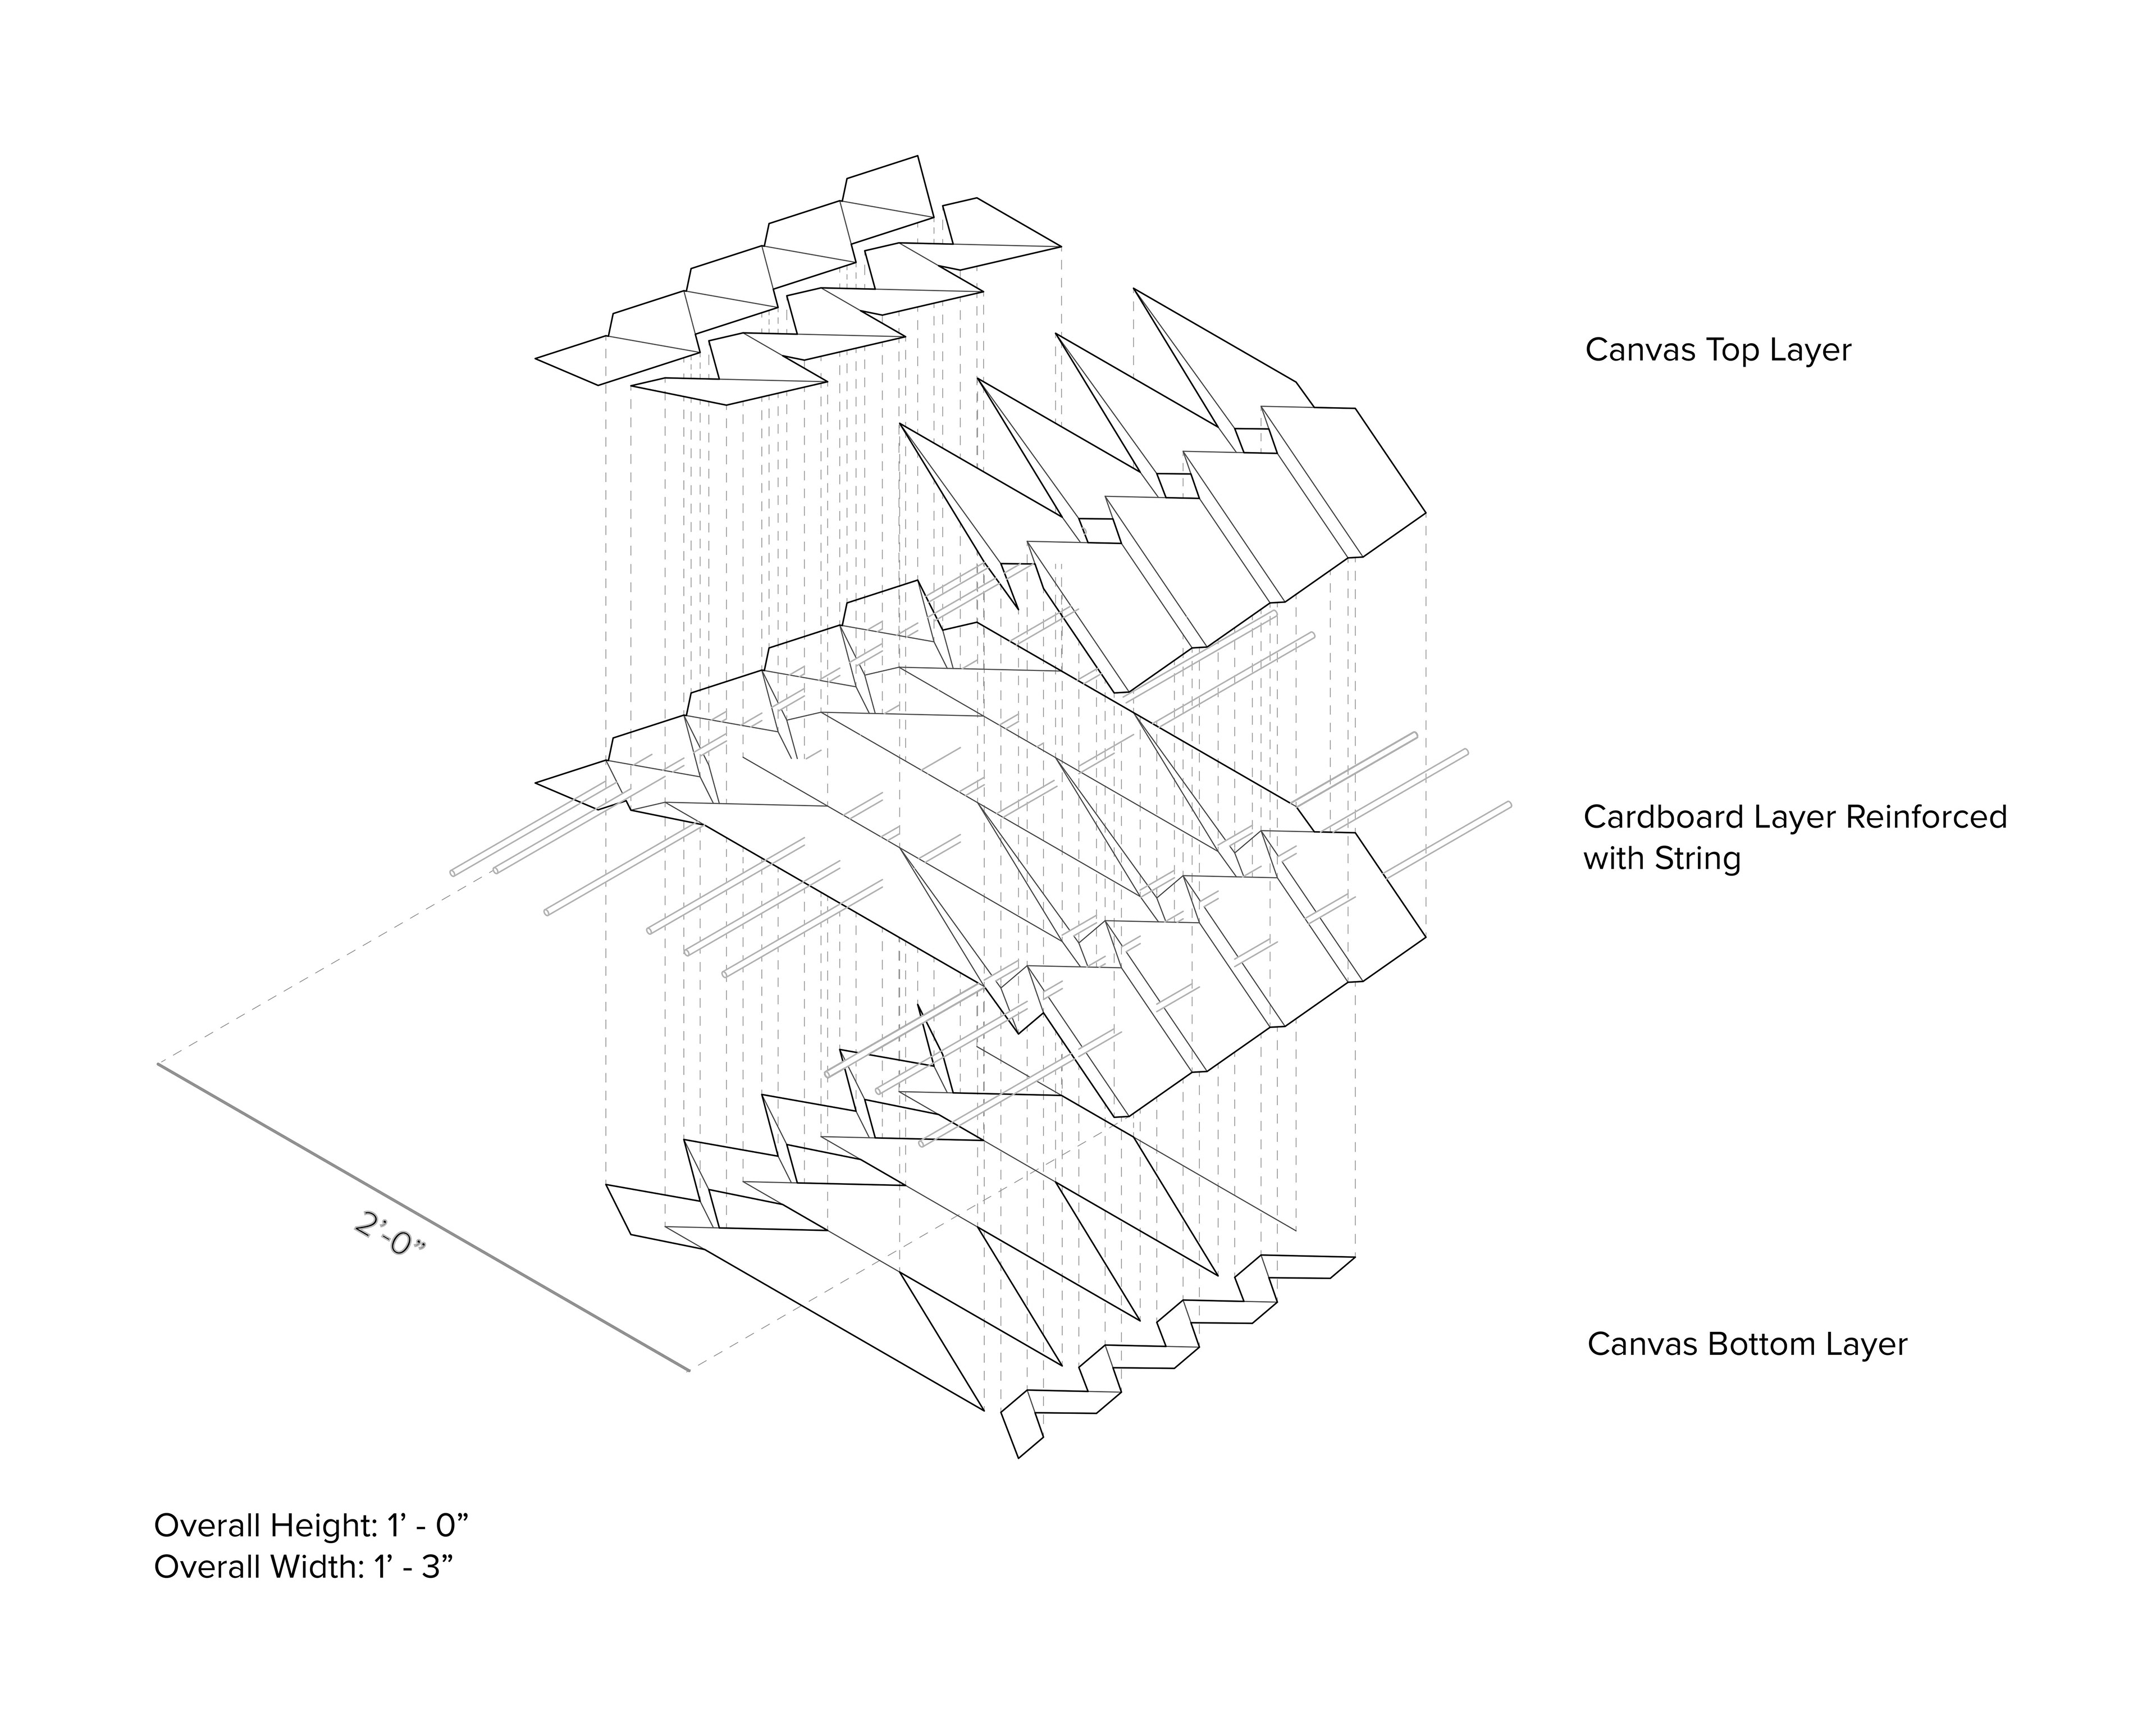
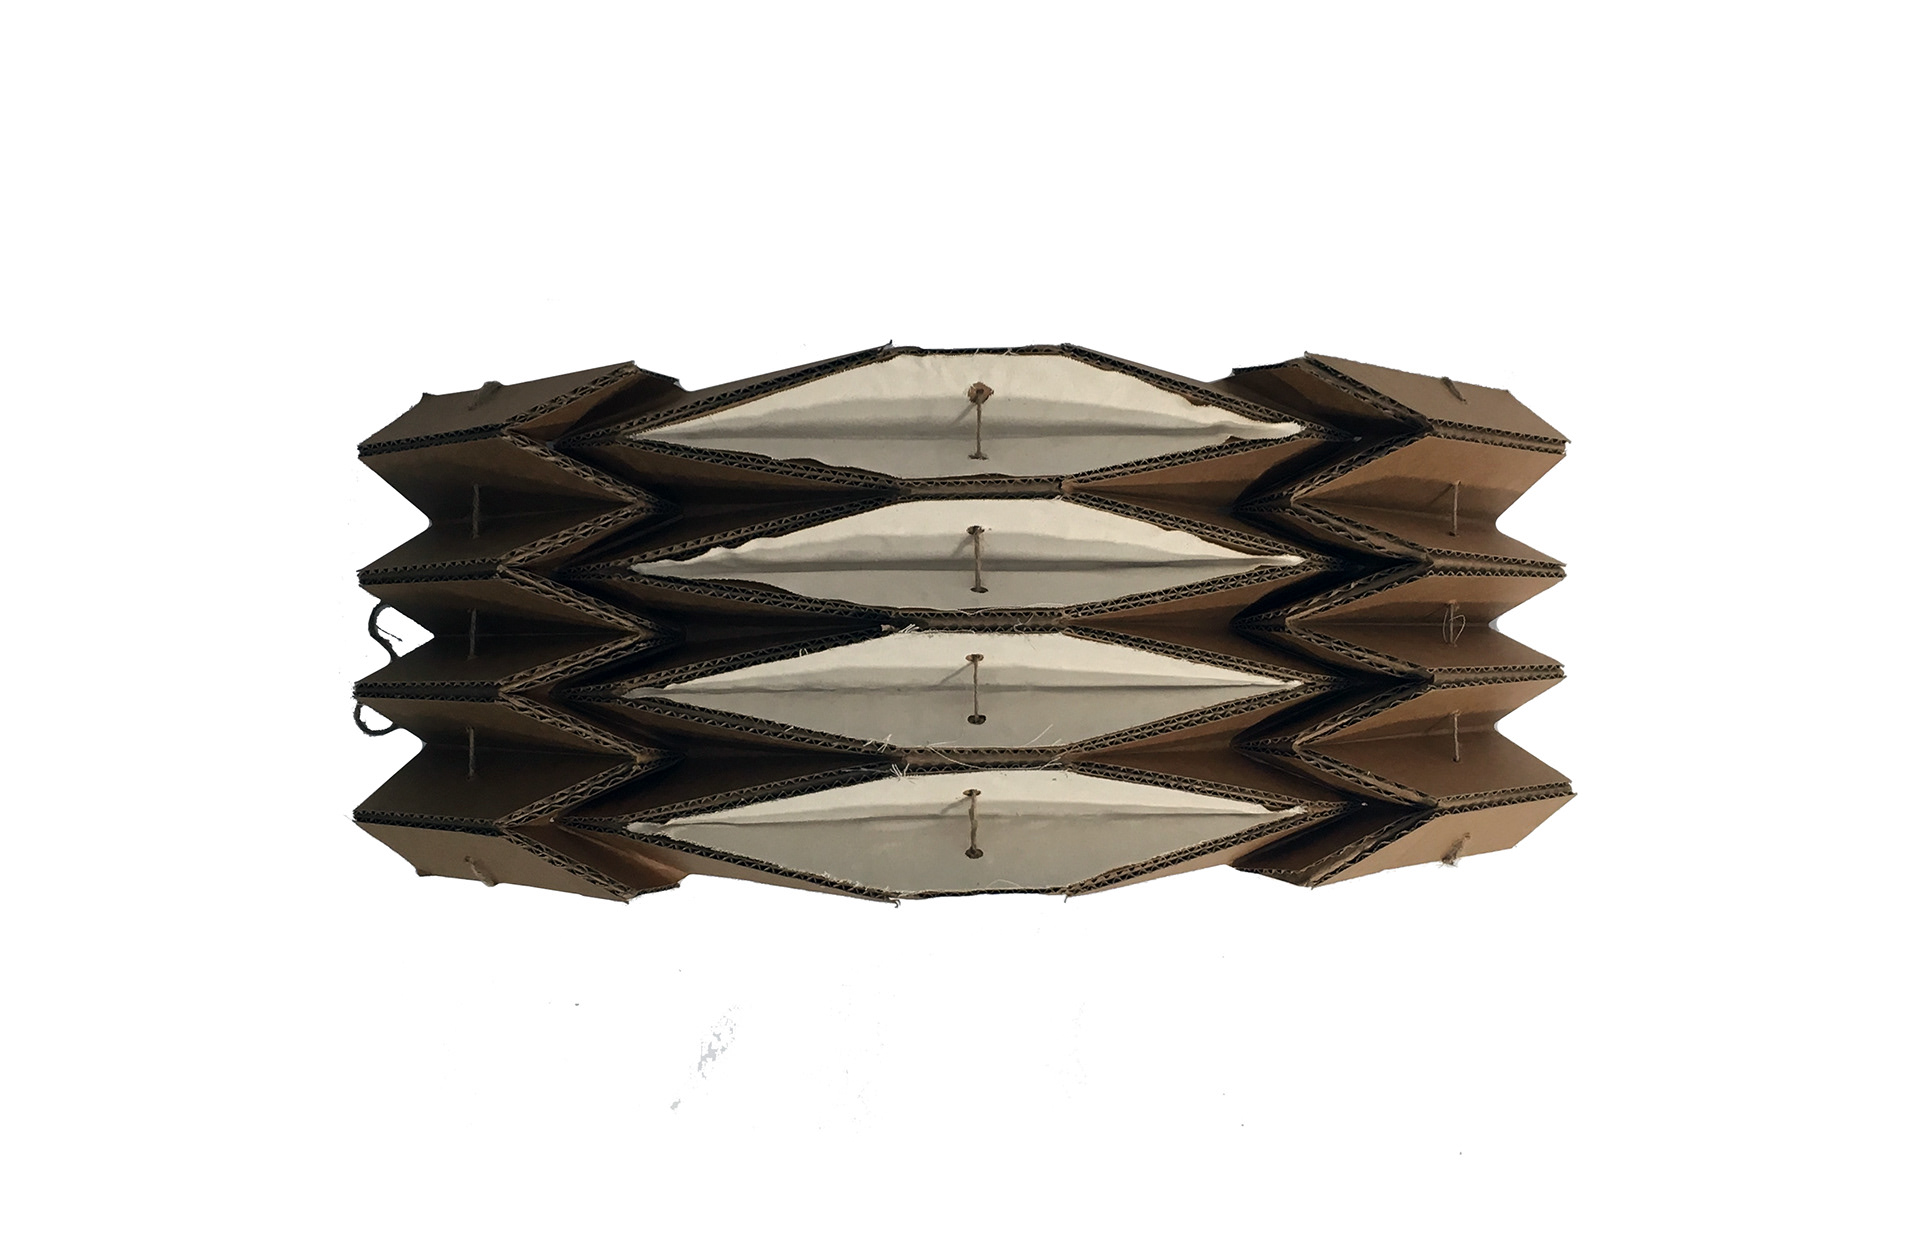
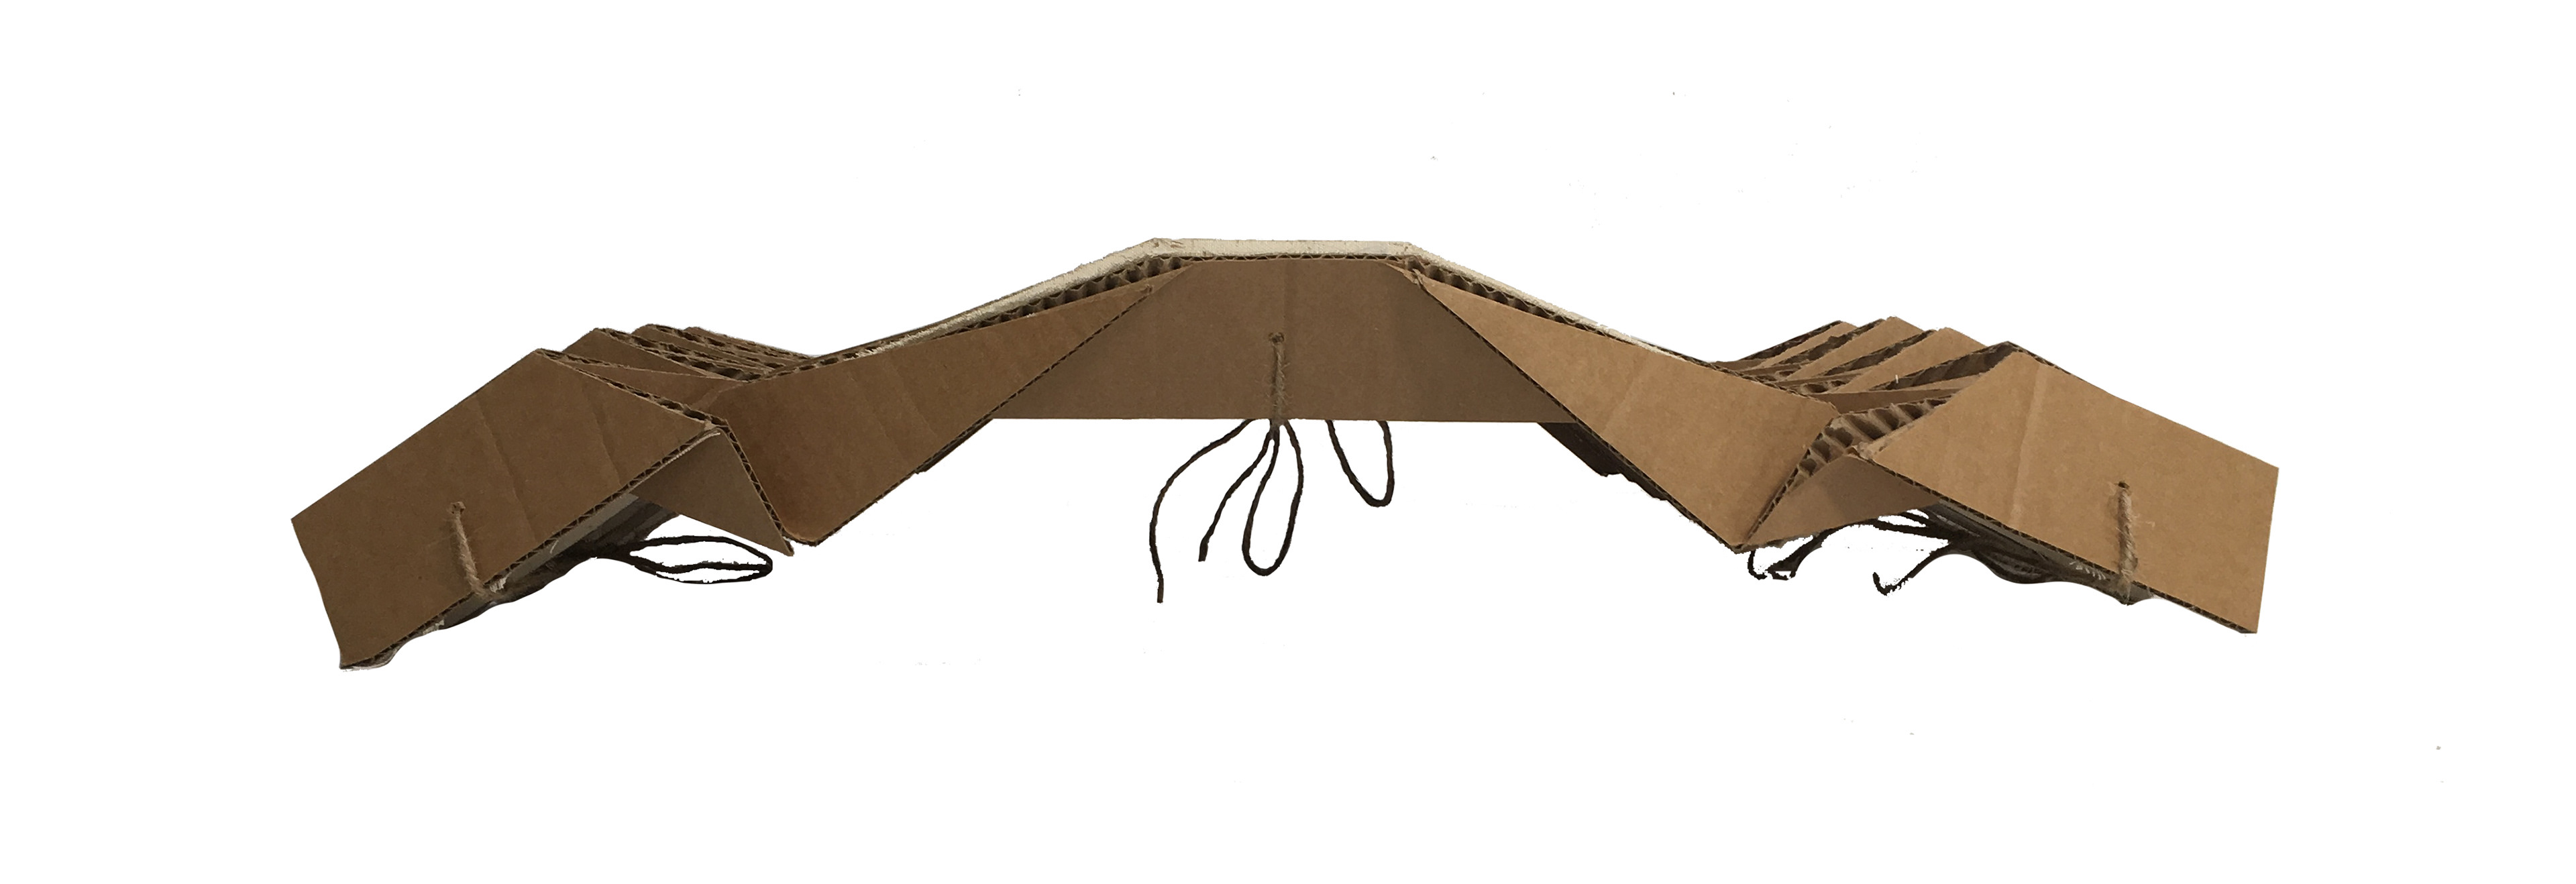
For the final structure, I rigid folded cardboard into a shape already designed through paper. Selected folds of the tessellation were reinforced by laser cut canvas pieces that were mounted using hot glue to the cardboard faces.The structure, although held specific dimensional qualities in Rhino model space, didn’t match up after folding in reality, As such, the structure sagged due to some of the weaker areas of the tessellation. In fact, the choice of cardboard as the material was critical in allowing for some tearing that didn’t rupture the cardboard trussing and retained the structural capacity of the piece. To stabilize the tessellation and maintain its form, I also chose to puncture lateral holes through the structure which I could thread string through to limit the expansion of the tessellation. I chose to do this at three locations, the middle and the two ends. Although I had intended to brace the structure laterally as many times as it took, the first three locations were sufficient to hold more than the assigned weight.
5 lb Weight Test
Fabrication Timelapse Footage
Reflections
Ultimately, the part that was the most difficult was the folding of the rigid origami. Brushing off a bit of rust as well as figuring out how to make the tessellation structural was an interesting challenge to take on. At first, I had considered locking a rectangle of string along the bottom corners of the tessellation, but then realized that limiting the lateral expansion of the piece would directly translate to the overall expansion. The piece was still obviously able to collapse more, but with the string tied, would have to be forcefully broken to return the tessellation to its sheet format. One brief experiment that I tried out of curiosity was seeing the structural capacity of the sheet in relation to the tessellation. Essentially, I asked the question of whether the tessellation strengthened or weakened the structural capacity of the material. And although the test was short and not very scientific in its rigor, it seemed like the structural holding capacity may have increased more, but that the main difference was that the tessellation braced laterally could take on more intense point loads whereas the sheet was more suited for distributed loads. All in all, this project was a great refresher and fun exploration of the structural capacity of origami tessellations.